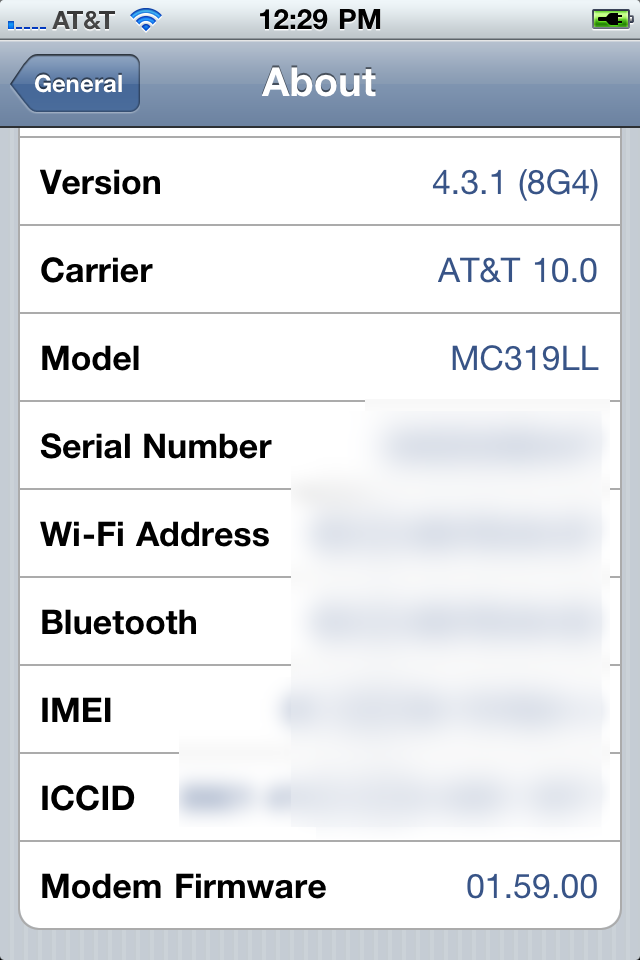
These are instructions on how to downgrade your iPhone firmware using TinyUmbrella. In order to follow this tutorial you must already have saved your SHSH Blobs for the firmware you want to restore to.
You can use this tutorial to downgrade to iOS 4.3.3 in order to jailbreak using JailbreakMe. The Mac version of this tutorial is here.
Step One
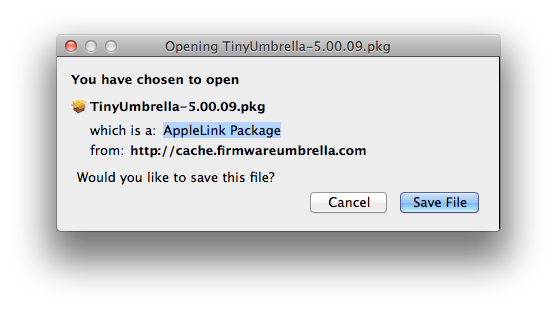
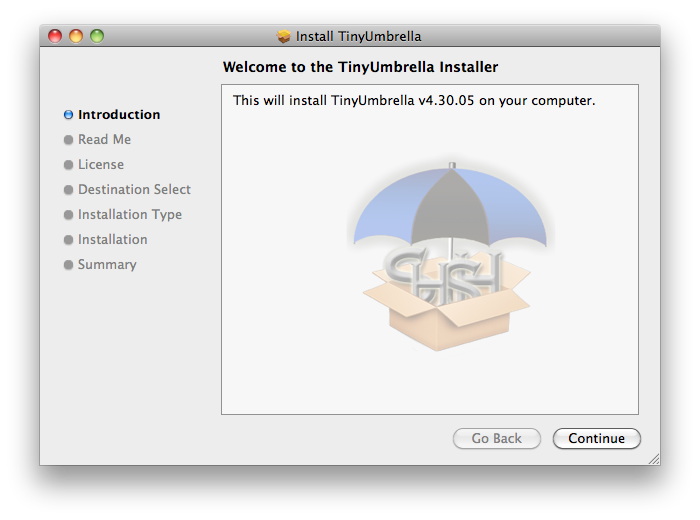
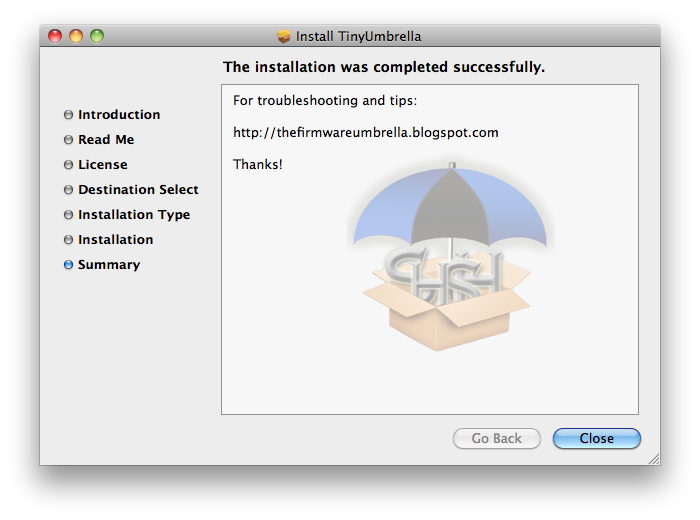
Download TinyUmbrella from here and save it in a Pwnage folder on your desktop if don't have it already.

Step Two
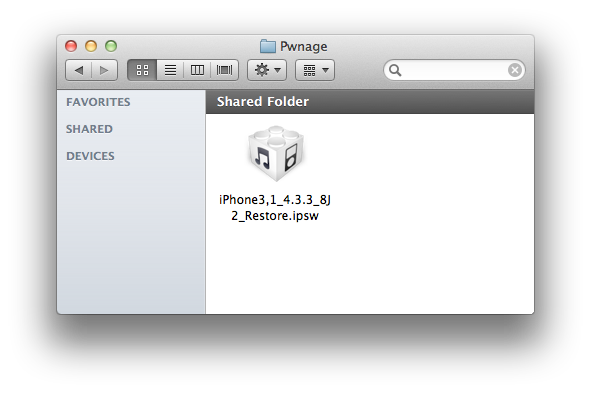
Download the firmware you want to restore and save it in a Pwnage folder on your desktop. Remember you must have saved your SHSH Blobs for this firmware already.

Step Three
Launch TinyUmbrella by double clicking its icon.

Step Four
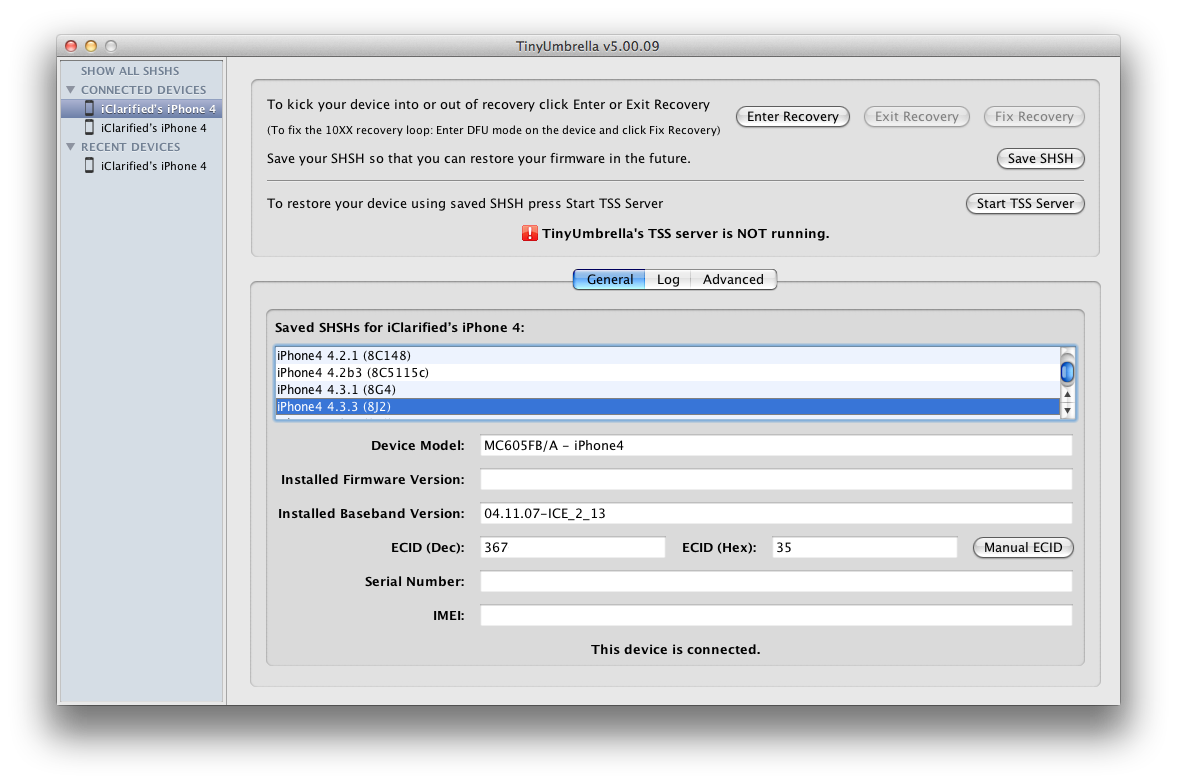
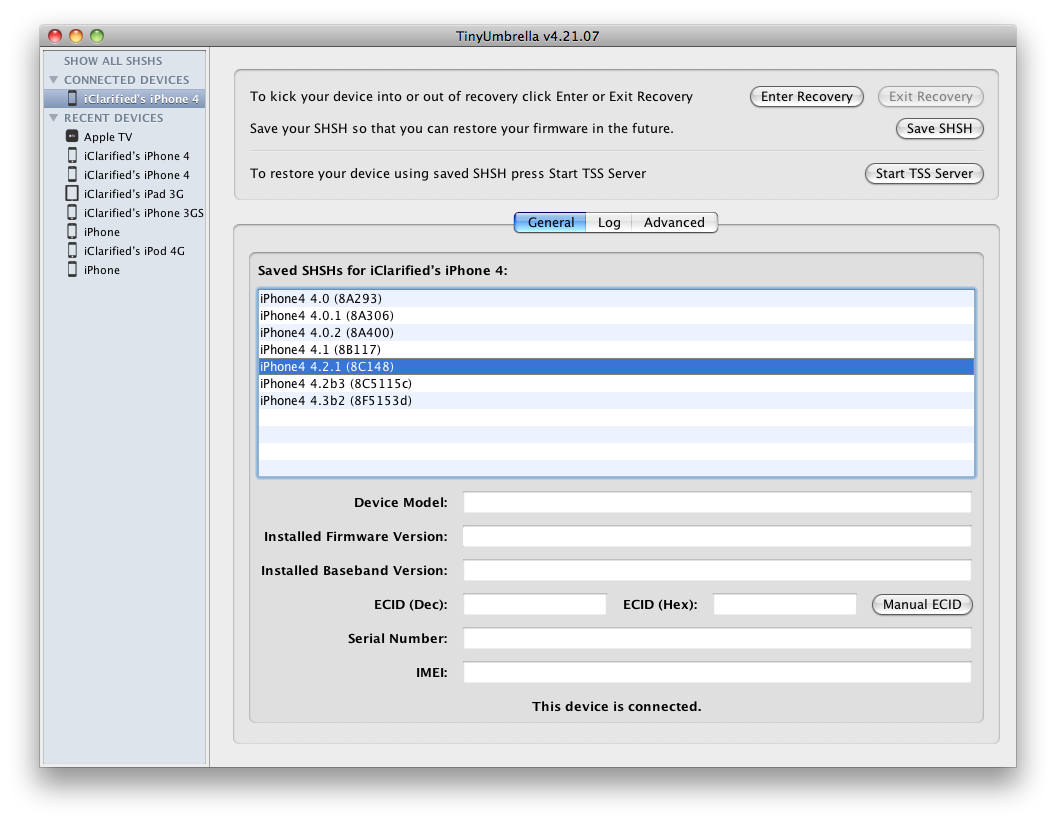
Connect your device and make sure it lists saved SHSH Blobs for the firmware you are restoring to. You may need to click Save SHSH to restore your blobs from Cydia if you don't see any listed.

Step Five
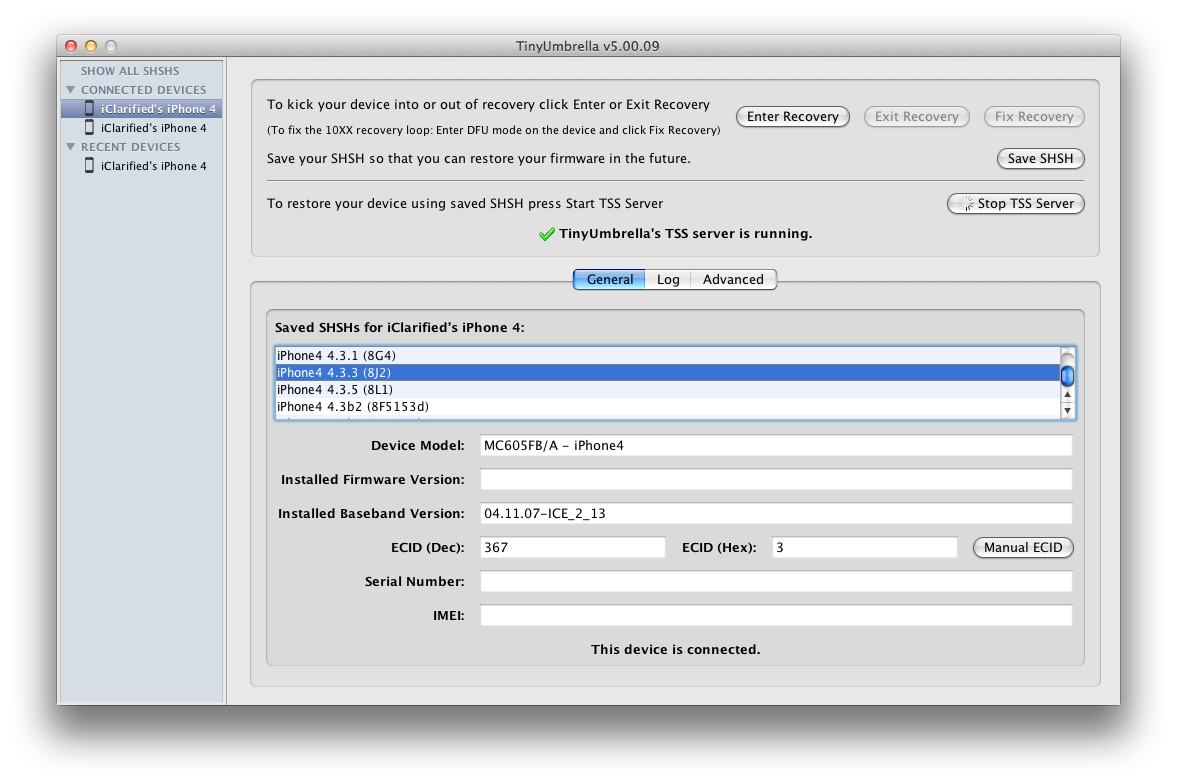
Click the Start TSS Server button.


*Do not continue if TinyUmbrella's TSS server is not started successfully.
Step Six
Launch iTunes by clicking its icon in your Start Menu.

Step Seven
Place your iPhone into DFU mode by holding down the Power and Home buttons for 10 seconds then release the Power button and continue holding the Home button for another 10 seconds.
You can find help with DFU mode here.

Step Seven
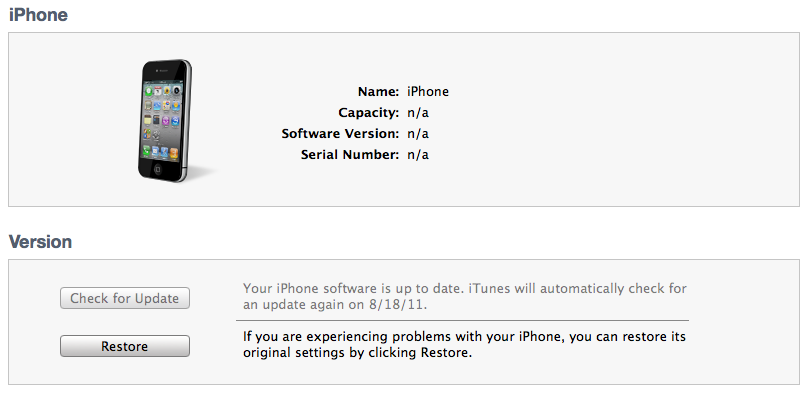
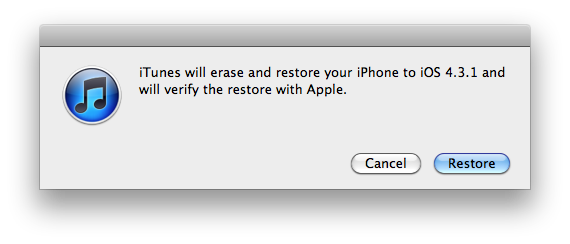
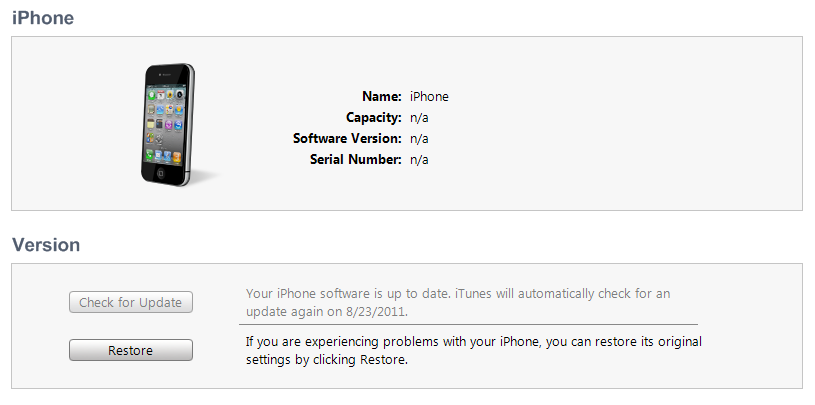
Select your iPhone from the list of devices on the left, hold down the Shift key and click Restore.

Step Eight
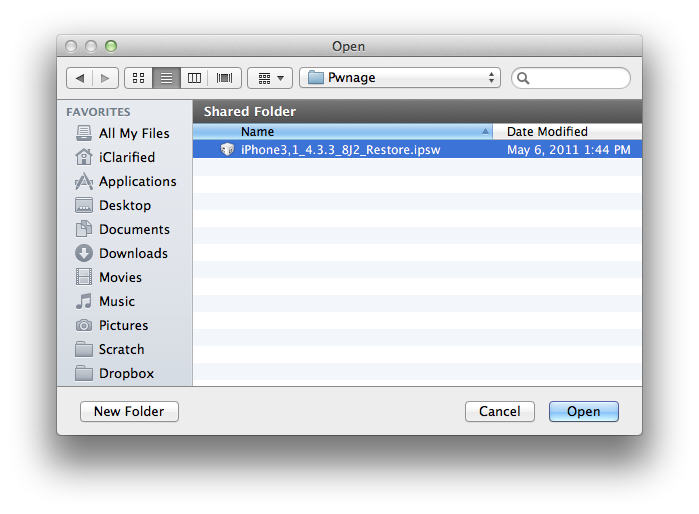
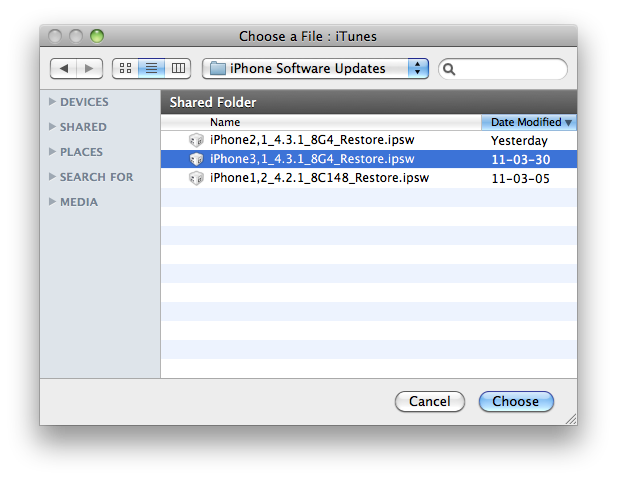
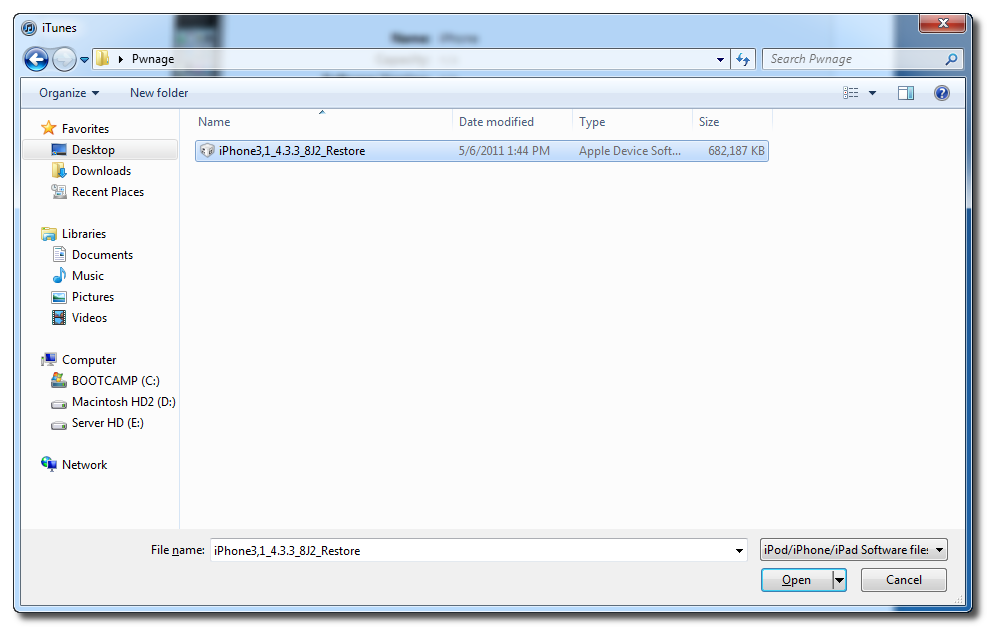
Navigate to the Pwnage folder on your desktop, select the ipsw file you downloaded and click the Open button.

Step Nine
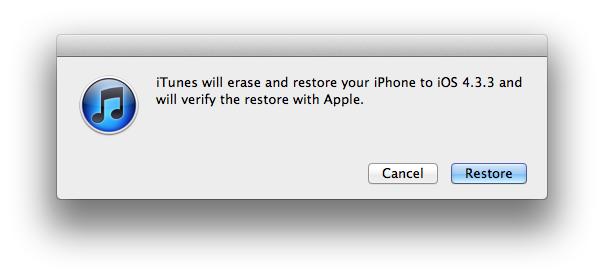
iTunes will now restore to the lower firmware version.

Step Ten
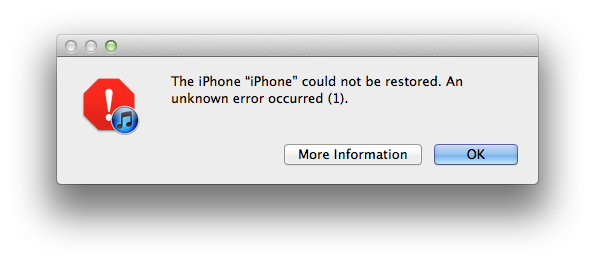
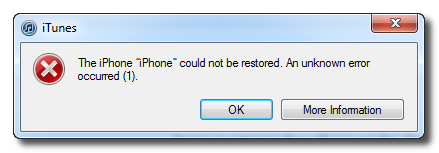
If you happen to get an Error 1 or you get stuck in recovery mode, you will need to use FixRecovery to get your device out of recovery mode.

Download FixRecovery from here and save it to the Pwnage folder on your desktop. Then extract the archive.

Download zlib1.dll from here and save it to the Pwnage folder on your desktop. Then extract the archive.

Step Eleven
Place your iPhone into DFU mode by holding down the Power and Home buttons for 10 seconds then release the Power button and continue holding the Home button for another 10 seconds.
You can find help with DFU mode here.
Step Twelve
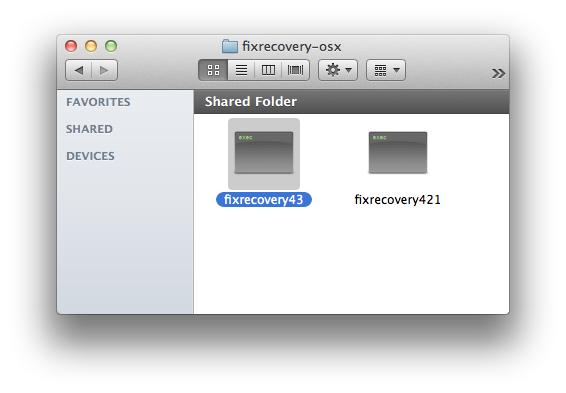
Double click to launch the fixrecovery43 executable we just extracted.

Step Thirteen
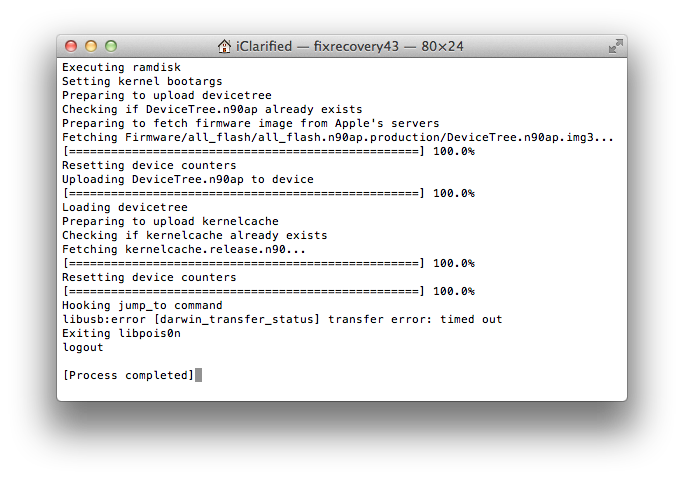
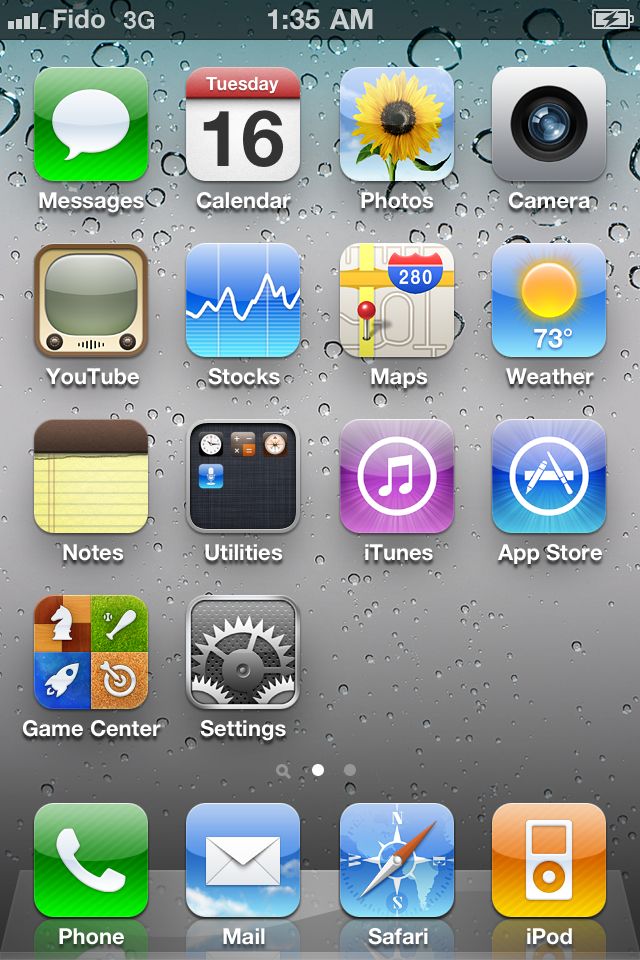
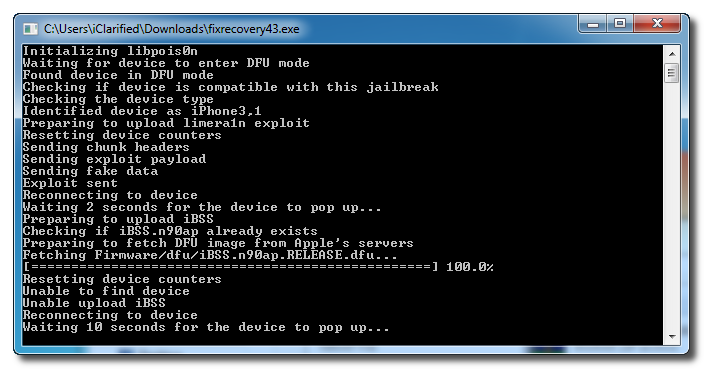
FixRecovery will perform its magic after which your device will be successfully rebooted.


IMPORTANT:
● If fixrecovery does not work the first time you may need to rerestore to your desired firmware version and try again. Remember to keep the TSS Server running during your second restore as well.
● This tutorial does work to get your from iOS 5 beta back down to iOS 4. Although some have reported less issues with a lower version of iTunes this tutorial was tested to work with iTunes 10.5.0.77.
You can use this tutorial to downgrade to iOS 4.3.3 in order to jailbreak using JailbreakMe. The Mac version of this tutorial is here.
Step One
Download TinyUmbrella from here and save it in a Pwnage folder on your desktop if don't have it already.

Step Two
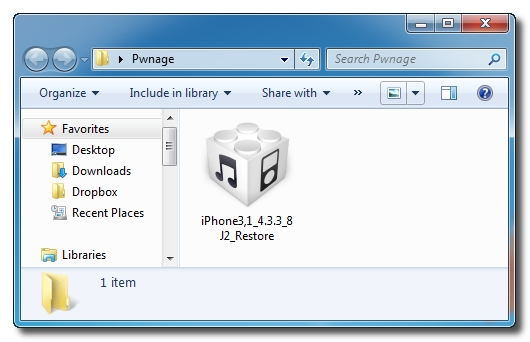
Download the firmware you want to restore and save it in a Pwnage folder on your desktop. Remember you must have saved your SHSH Blobs for this firmware already.
Step Three
Launch TinyUmbrella by double clicking its icon.

Step Four
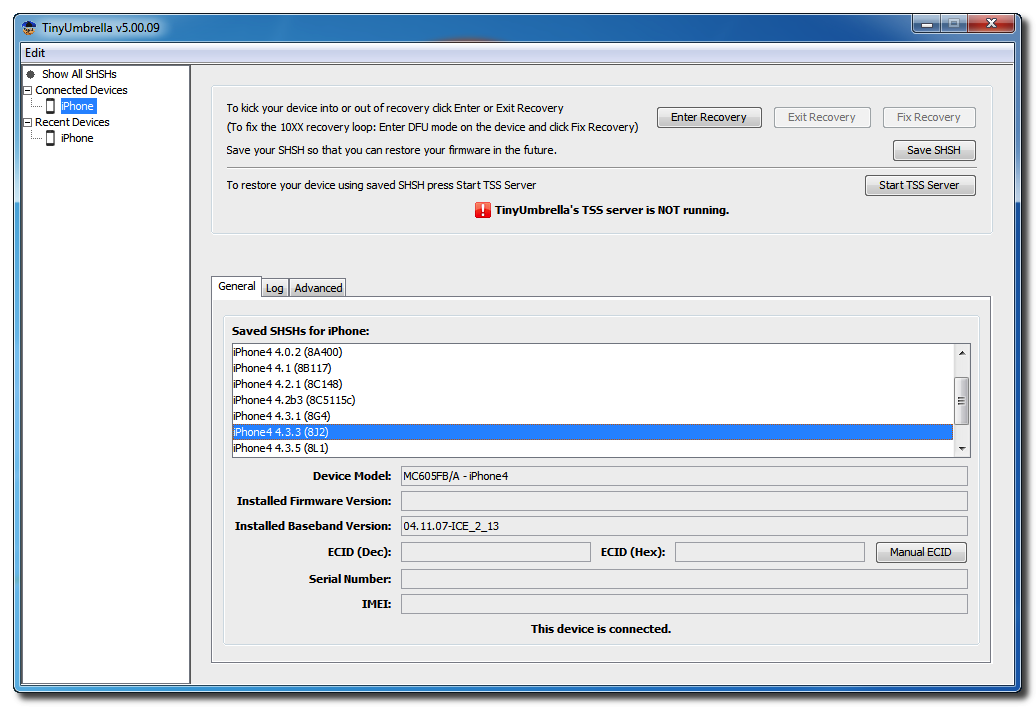
Connect your device and make sure it lists saved SHSH Blobs for the firmware you are restoring to. You may need to click Save SHSH to restore your blobs from Cydia if you don't see any listed.
Step Five
Click the Start TSS Server button.

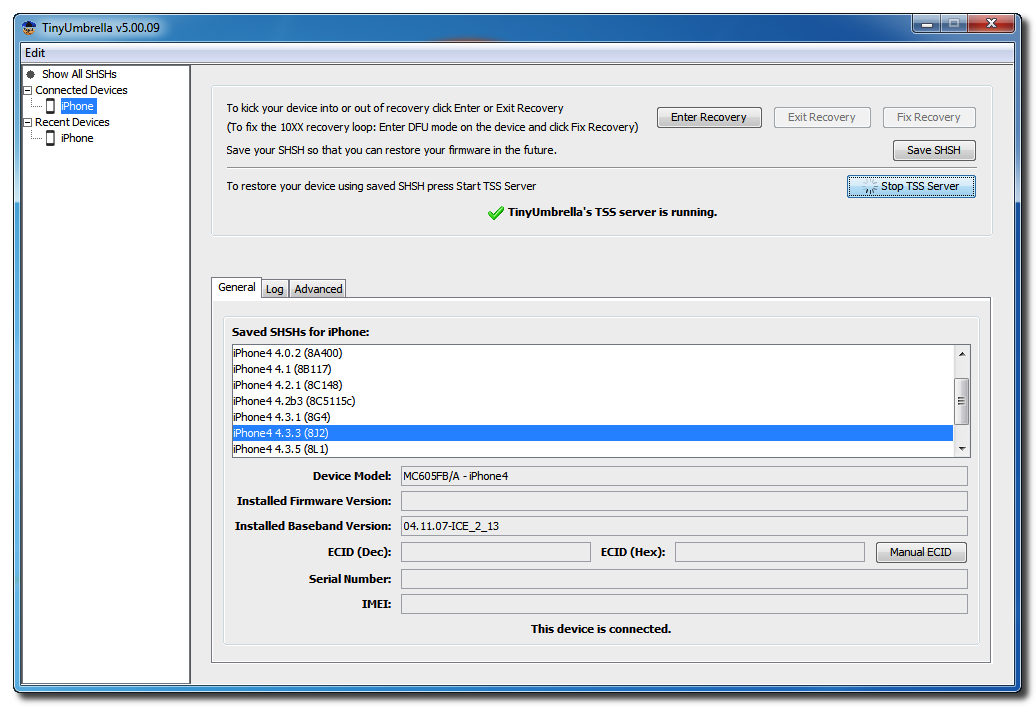
*Do not continue if TinyUmbrella's TSS server is not started successfully.
Step Six
Launch iTunes by clicking its icon in your Start Menu.

Step Seven
Place your iPhone into DFU mode by holding down the Power and Home buttons for 10 seconds then release the Power button and continue holding the Home button for another 10 seconds.
You can find help with DFU mode here.

Step Seven
Select your iPhone from the list of devices on the left, hold down the Shift key and click Restore.
Step Eight
Navigate to the Pwnage folder on your desktop, select the ipsw file you downloaded and click the Open button.
Step Nine
iTunes will now restore to the lower firmware version.

Step Ten
If you happen to get an Error 1 or you get stuck in recovery mode, you will need to use FixRecovery to get your device out of recovery mode.
Download FixRecovery from here and save it to the Pwnage folder on your desktop. Then extract the archive.

Download zlib1.dll from here and save it to the Pwnage folder on your desktop. Then extract the archive.

Step Eleven
Place your iPhone into DFU mode by holding down the Power and Home buttons for 10 seconds then release the Power button and continue holding the Home button for another 10 seconds.
You can find help with DFU mode here.
Step Twelve
Double click to launch the fixrecovery43 executable we just extracted.

Step Thirteen
FixRecovery will perform its magic after which your device will be successfully rebooted.
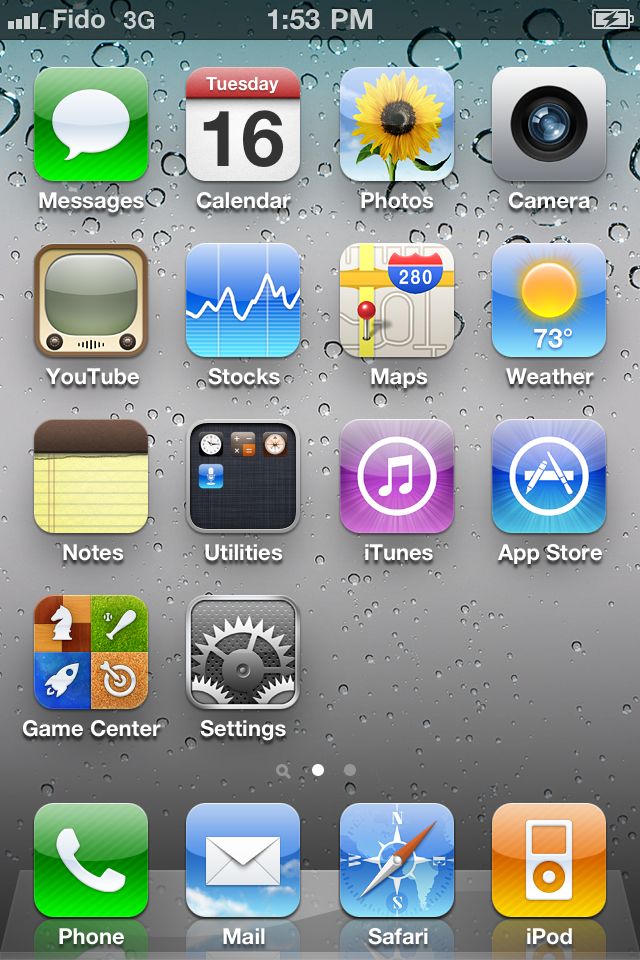
IMPORTANT:
● If fixrecovery does not work the first time you may need to rerestore to your desired firmware version and try again. Remember to keep the TSS Server running during your second restore as well.
● This tutorial does work to get your from iOS 5 beta back down to iOS 4. Although some have reported less issues with a lower version of iTunes this tutorial was tested to work with iTunes 10.5.0.77.