Thứ Bảy, 26 tháng 6, 2010

How to Check the Bootrom Version of Your iPhone (Mac)


These are instructions on how to determine the bootrom version of your iPhone using Mac OS X.

Step One
Connect your iPhone to the computer and put it into DFU mode. If you don't know how to do this you can find instructions
here.

Step Two
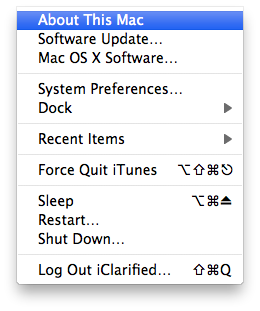
Click to select
About This Mac from the Apple menu at the top left of your screen.


Step Three
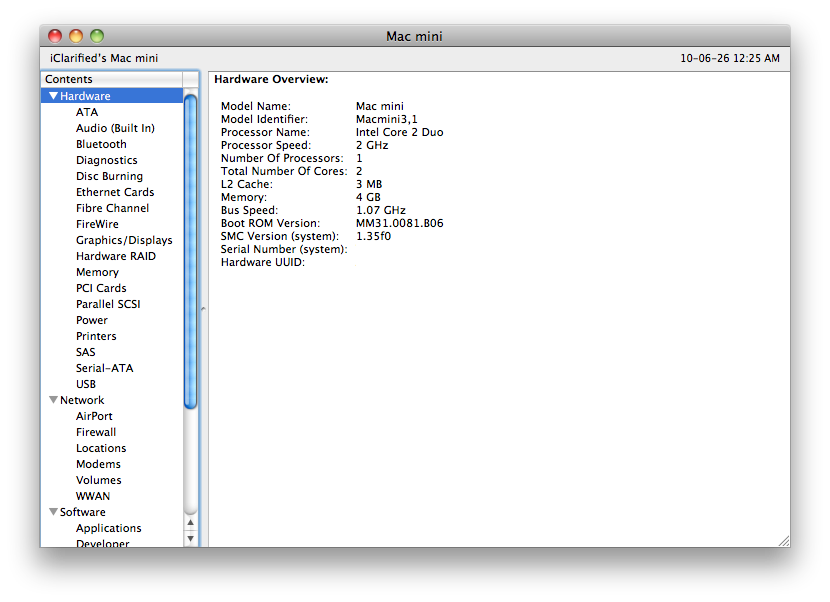
Click the
More Info... button from the About This Mac window.


Step Four
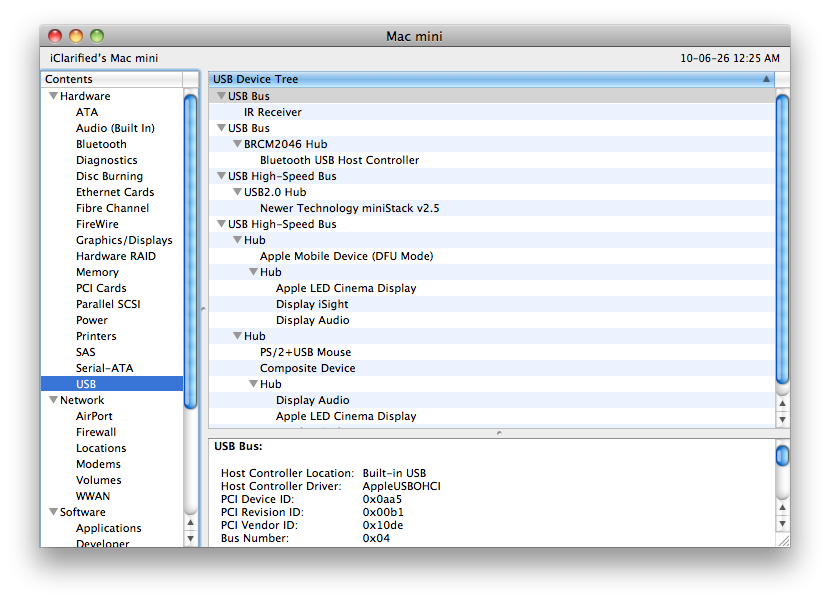
Click to select
USB from the list of Hardware Contents on the left side of the screen.


Step Five
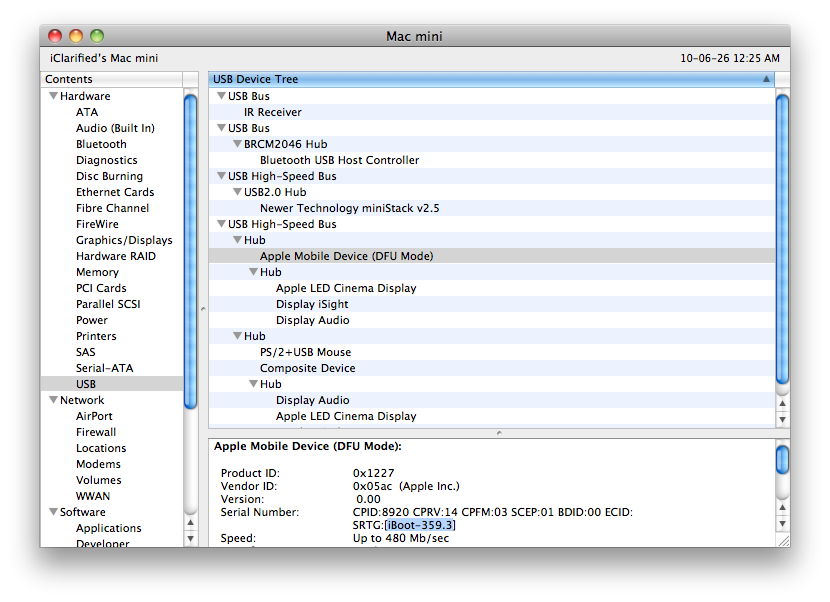
Click to select
Apple Mobile Device (DFU Mode) from the USB Device Tree.


Step Six
Use the details pane, locate the Serial Number field and at the end you will see your bootrom version. It will look something like [iBoot-359.3]


***If you have an iPhone 3GS, iBoot-359.3 is considered the old bootrom. iBoot-359.3.2 is considered the new bootrom.

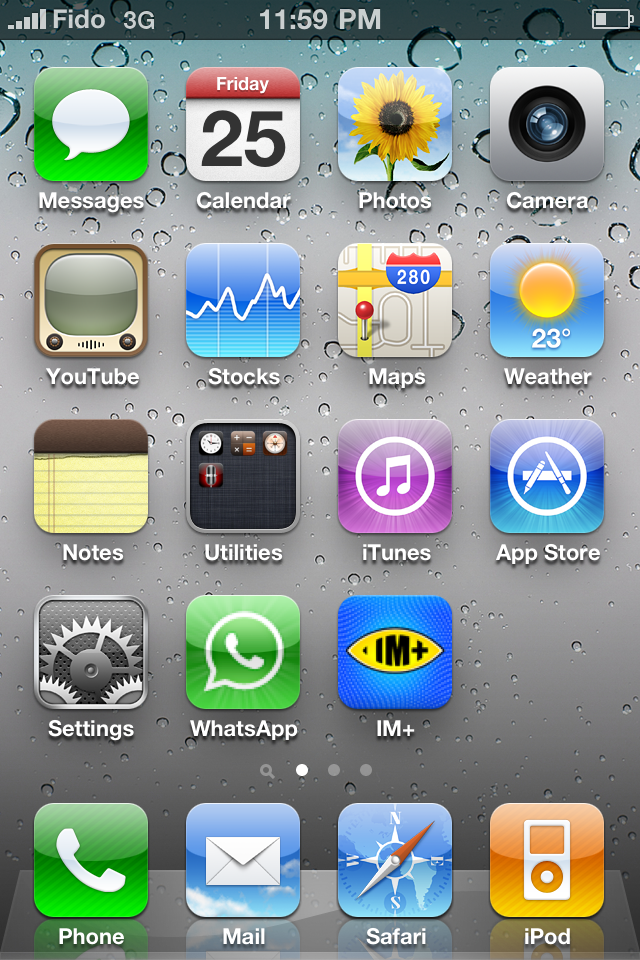
How to Use Folders on Your iOS 4 iPhone or iPod touch


These are instructions on how to use folders on your iOS 4 iPhone or iPod touch.

Step One
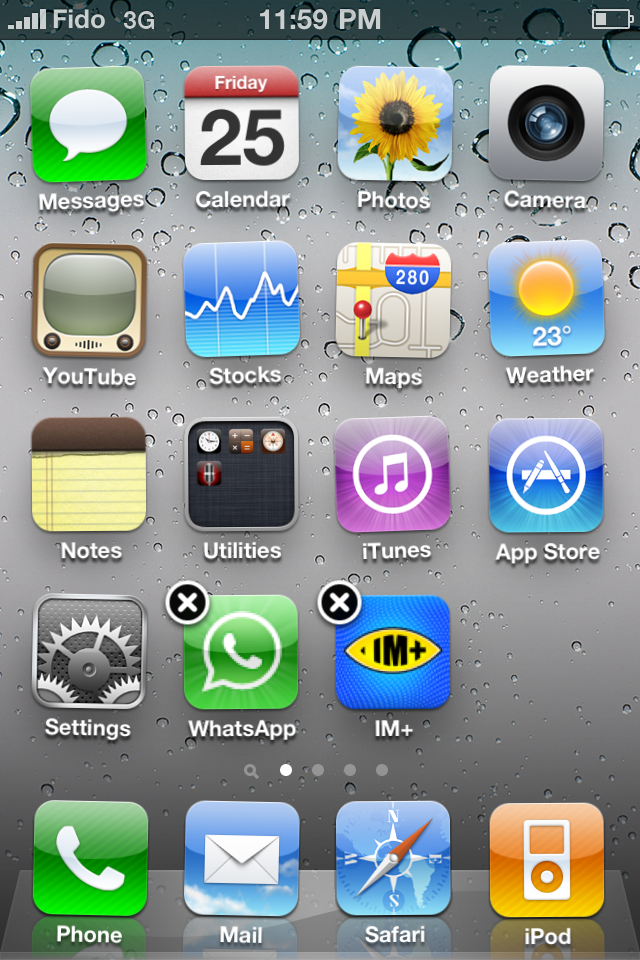
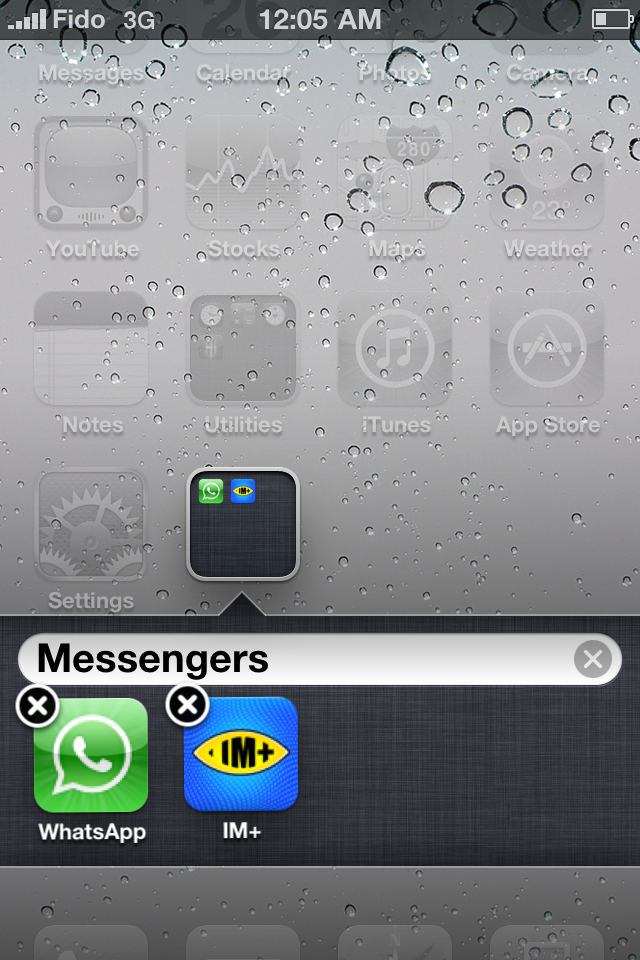
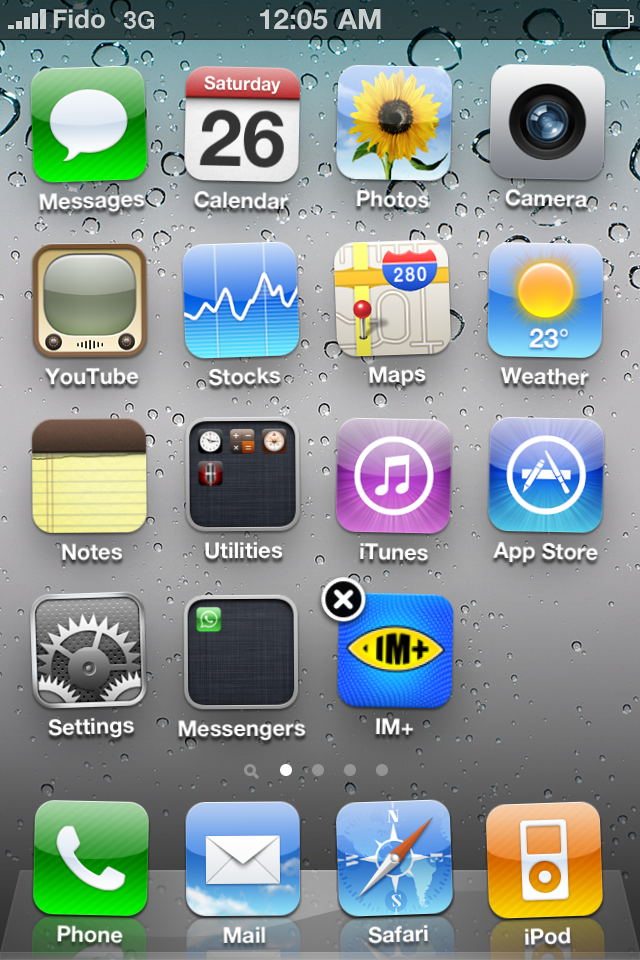
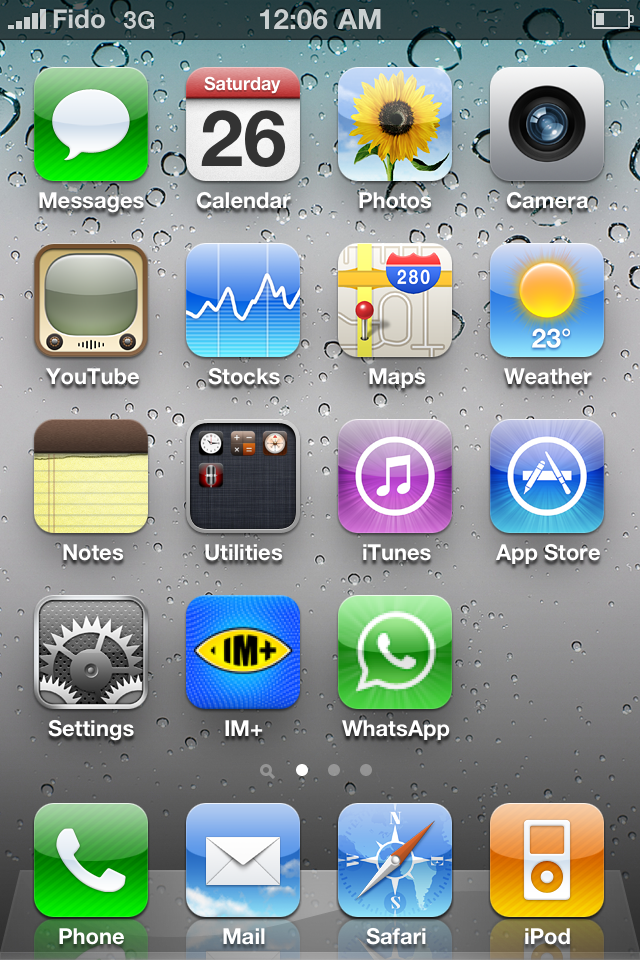
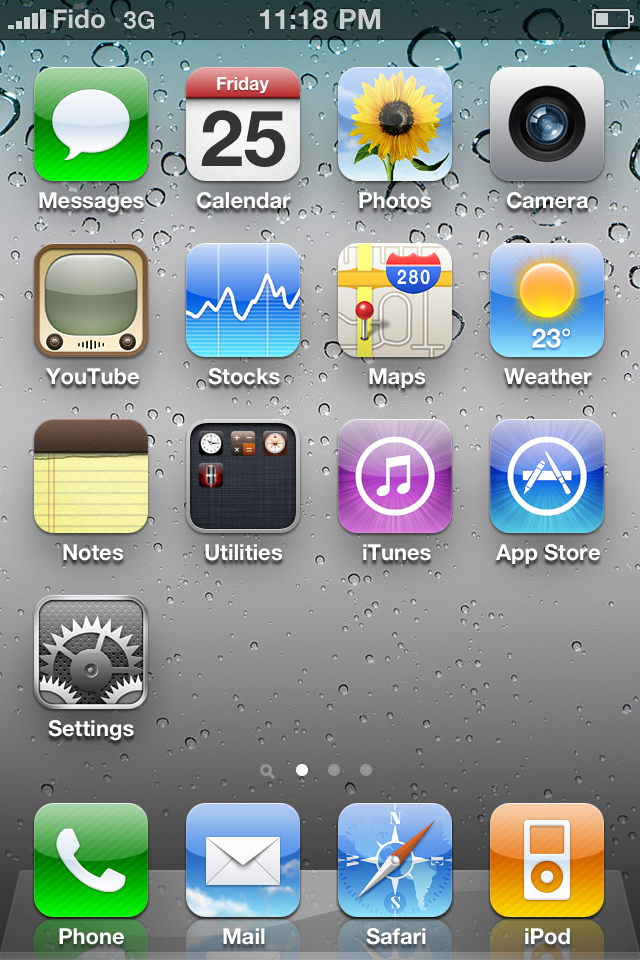
To create a folder press and hold an icon on your Springboard until it wiggles.


Step Two
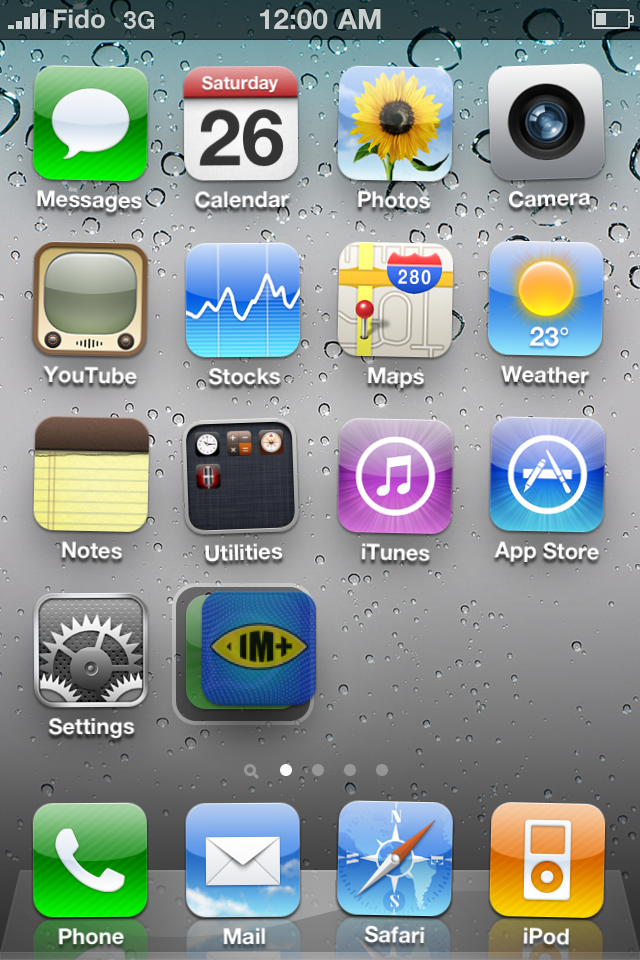
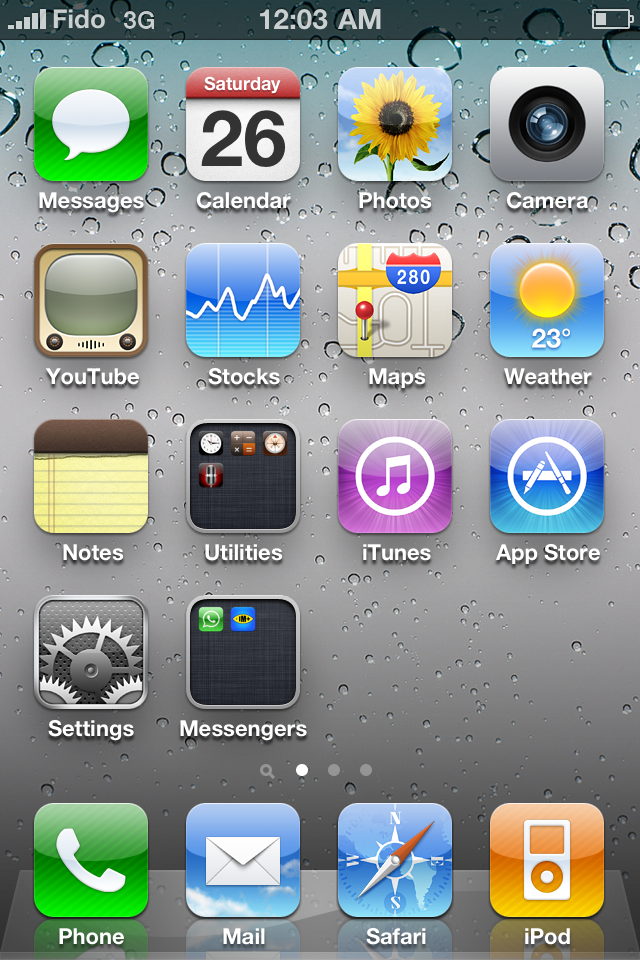
Drag an icon on top of another and release. This will create a new folder intelligently named based on the type of applications added.


Step Three
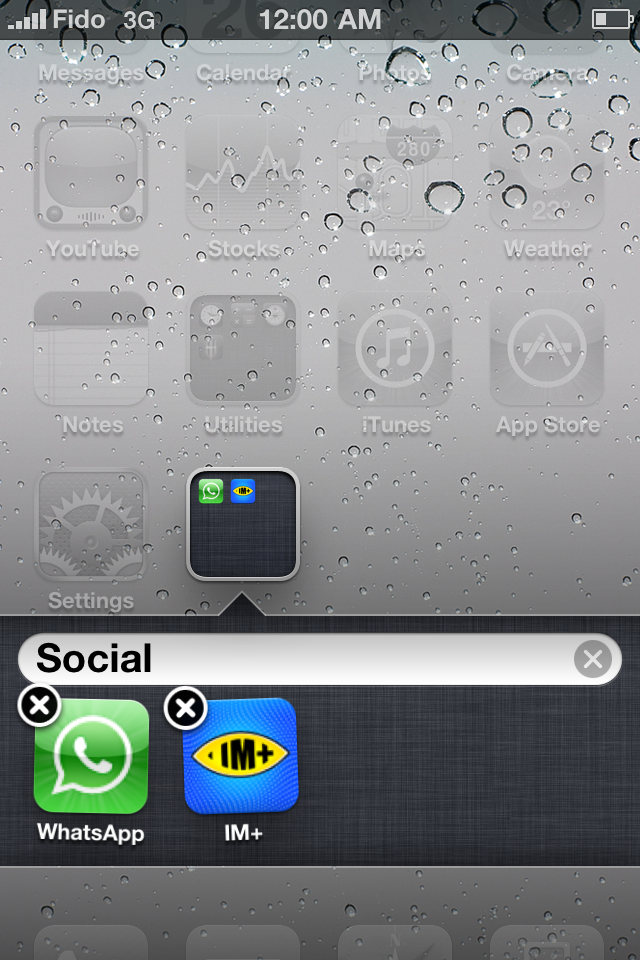
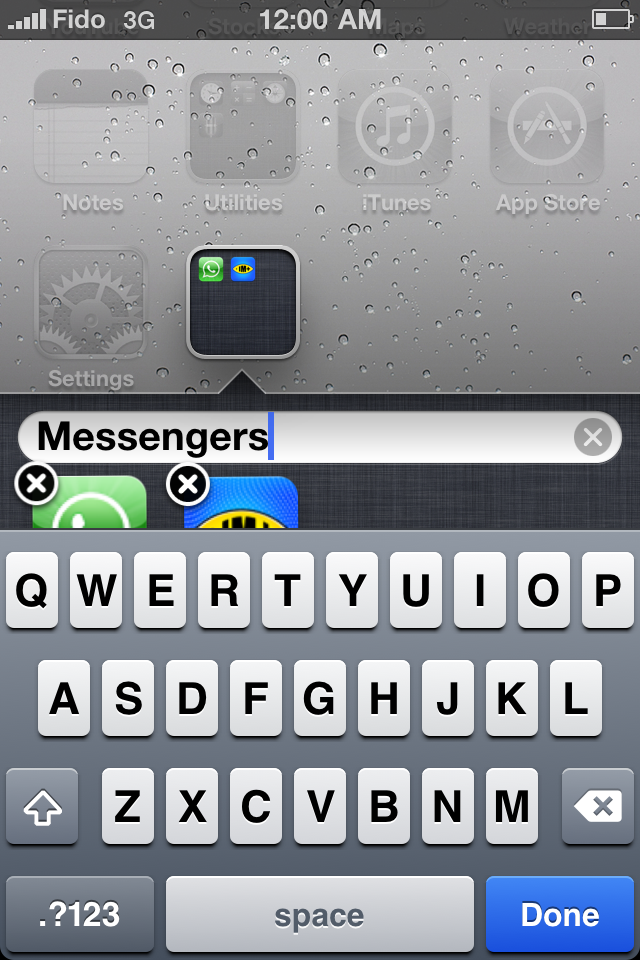
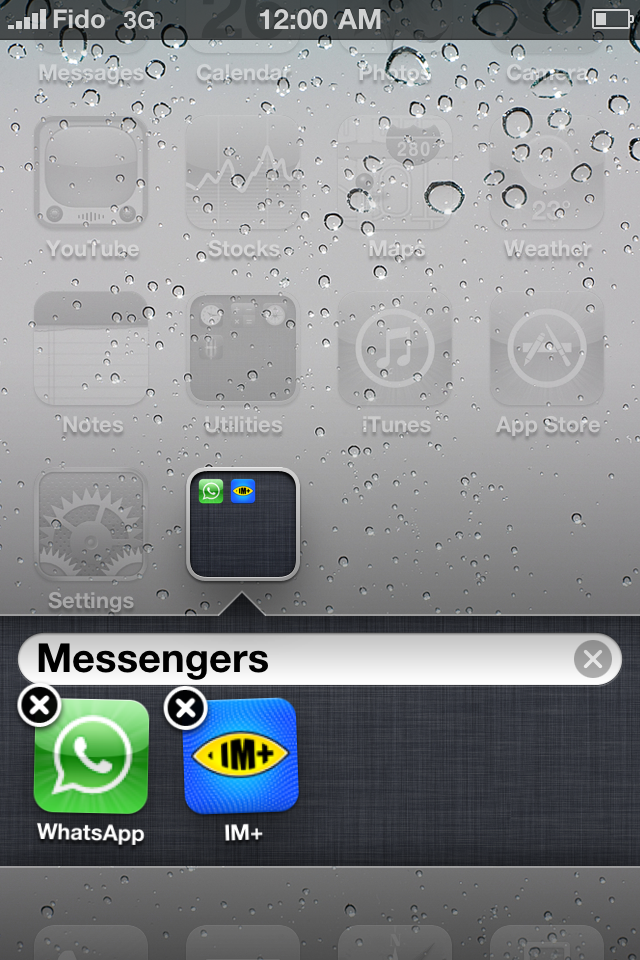
You can also choose to give the folder a custom name then press the
Home button to save your changes.


Step Four
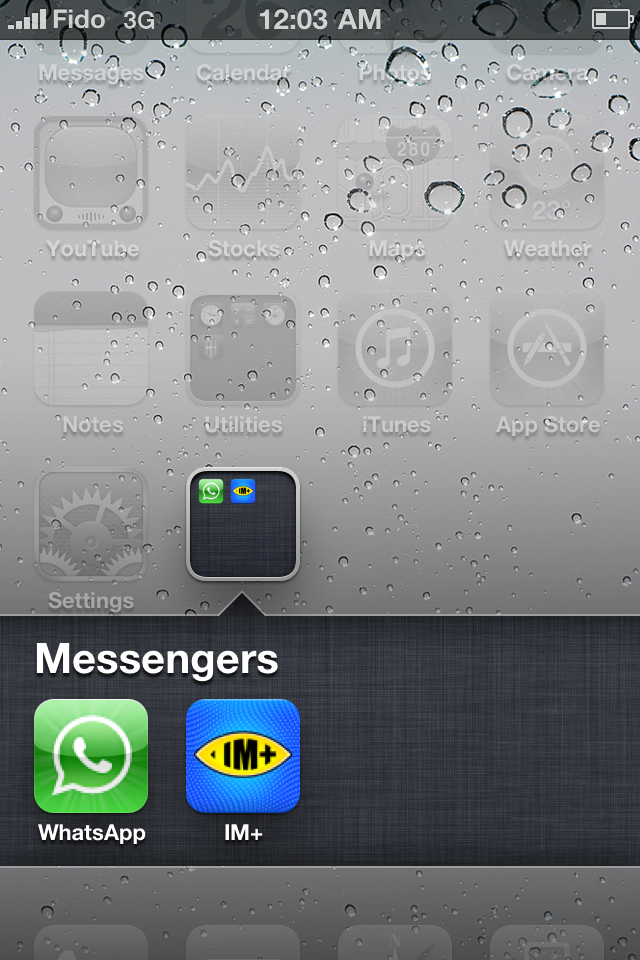
Now whenever you press the folder's Springboard icon it will open to display the applications inside.


Step Five
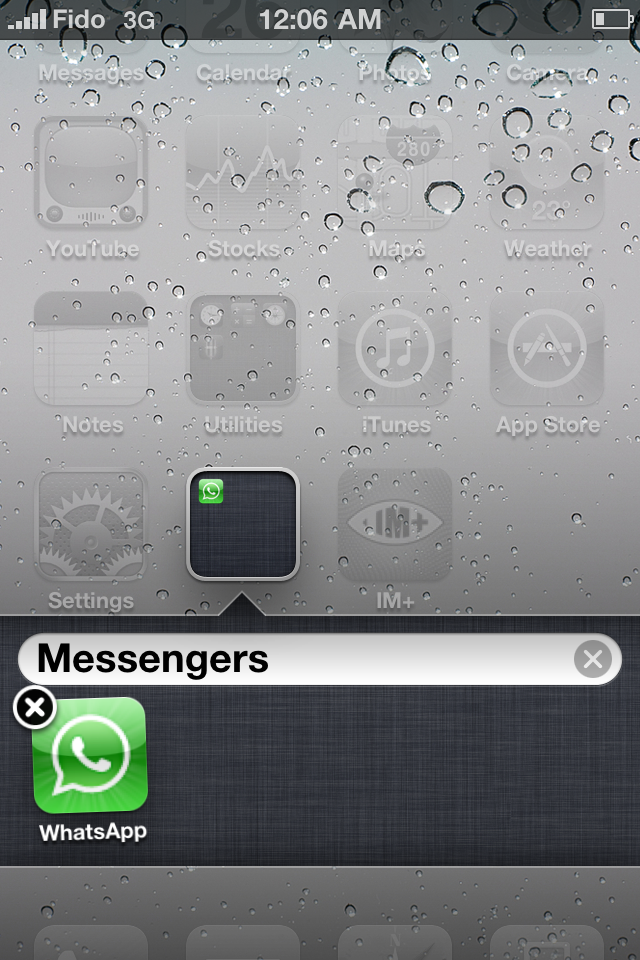
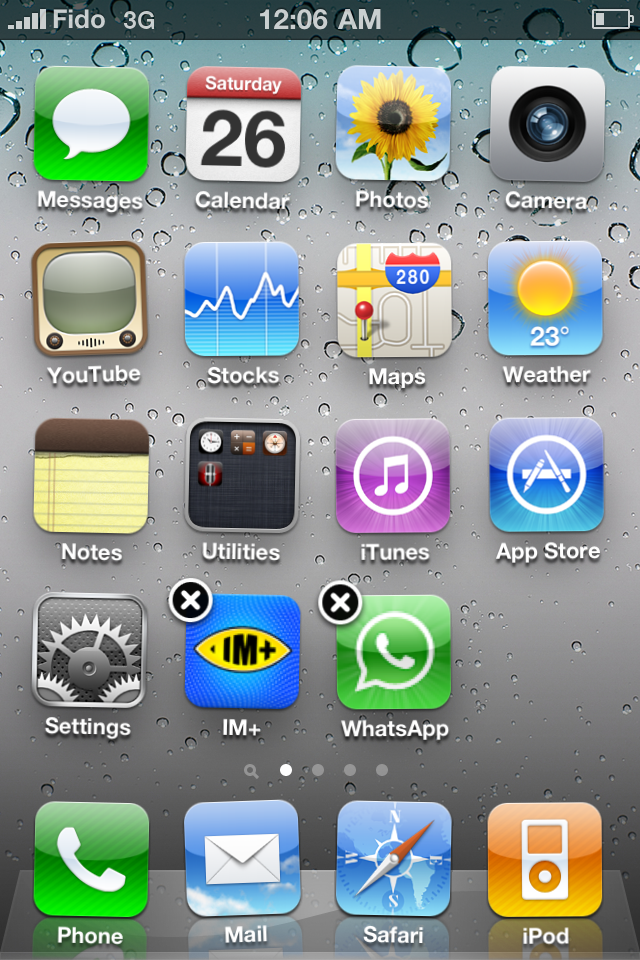
To remove an application from its folder, simply open a folder then press and hold an application's icon until it starts wiggling. Drag the icon out of the folder and back on to the Springboard to remove it.


Step Six
To remove a folder entirely, simply drag out all the applications from inside of it, then press the home button to complete the action.


**Please note that we are aware of how basic this tutorial is. It is being provided as reference to those new to the iPhone and unfamiliar with its technology.

How to Use Multitasking on Your iOS 4 iPhone or iPod touch


These are instructions on how to use the new multitasking feature of your iOS 4 iPhone or iPod touch.

Step One
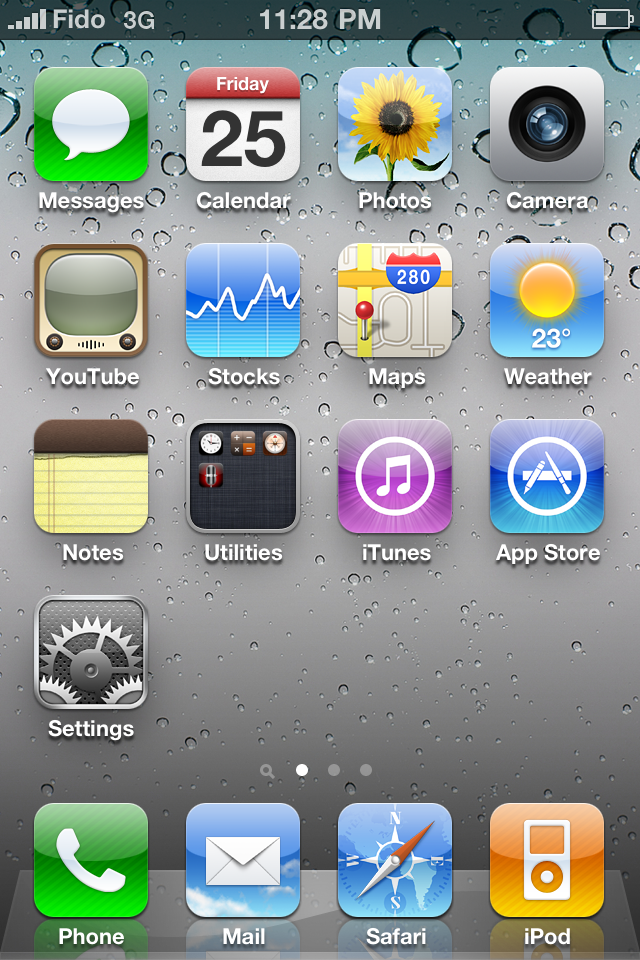
Press to launch an app from the SpringBoard. In this example we will launch the
Photos app.


Step Two
Press to select a photo from your library then press the
Home button.


Step Three
Press to launch a different application from your Springboard. In this example we will launch the
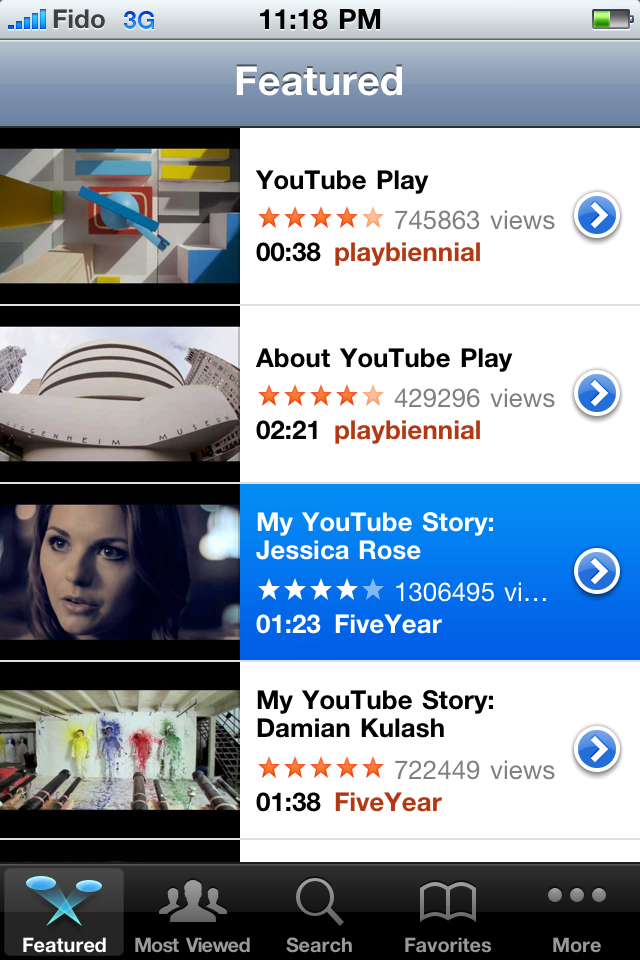
YouTubeapplication. Then select a video you would like to play.


Step Four
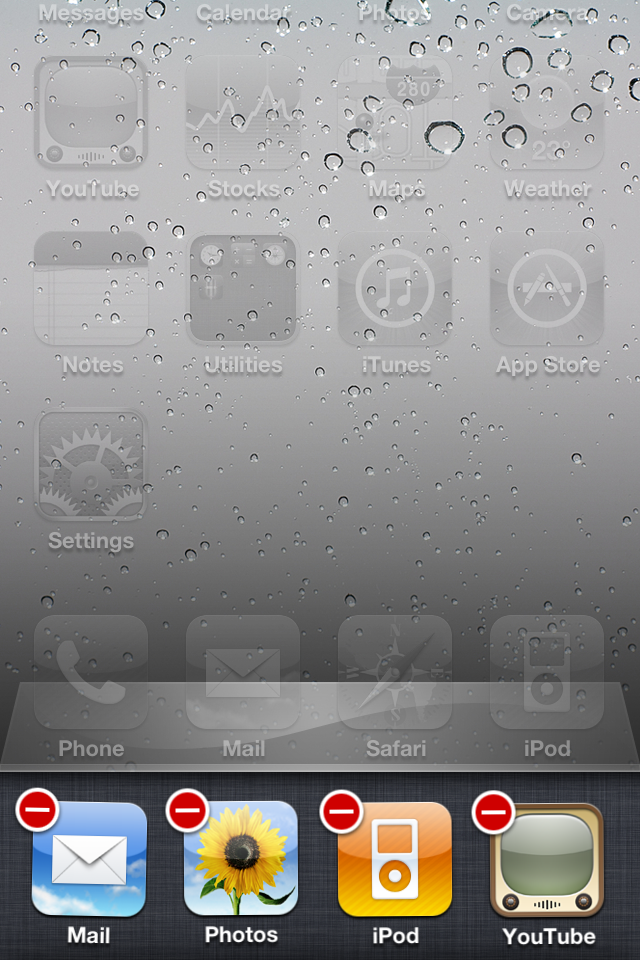
While the video is playing double press the
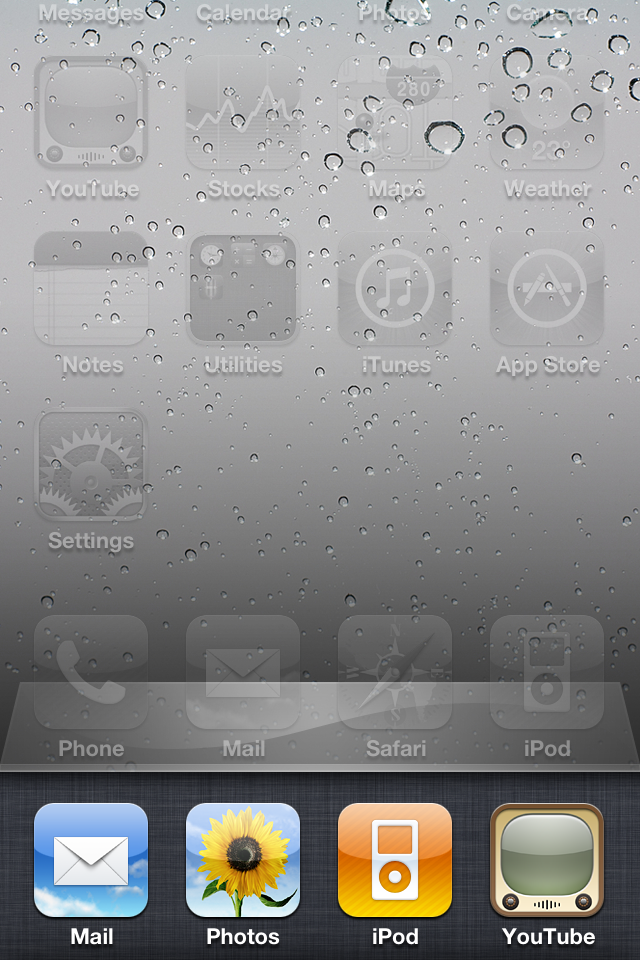
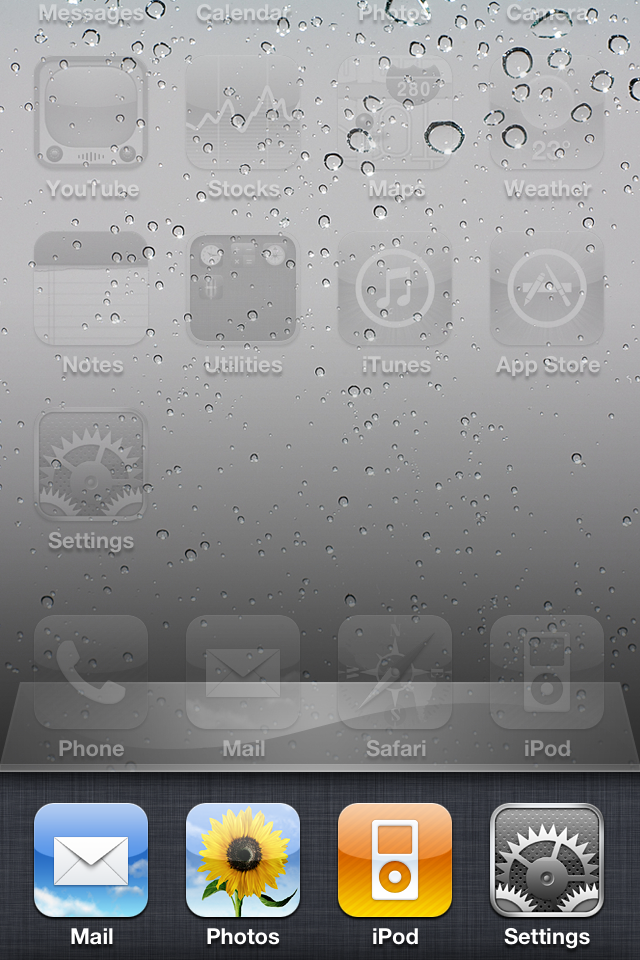
Home button. Notice a new multitasking menu will slide up from the bottom of the screen.


Step Five
Press to select the
Photos application we just had open. Notice how it nicely appears right to the photo we left it at.


Step Six
Double pressing the
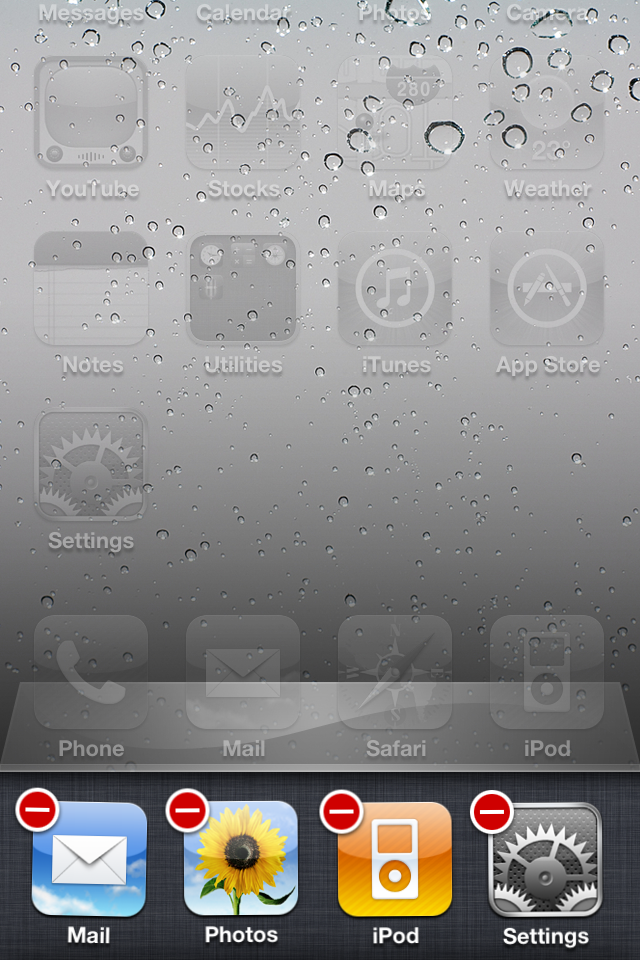
Home button will again bring up the multitasking menu. If we swipe to the left we can see all the applications that are currently running or suspended in the background. You can tap any one of these to launch the application.


Step Seven
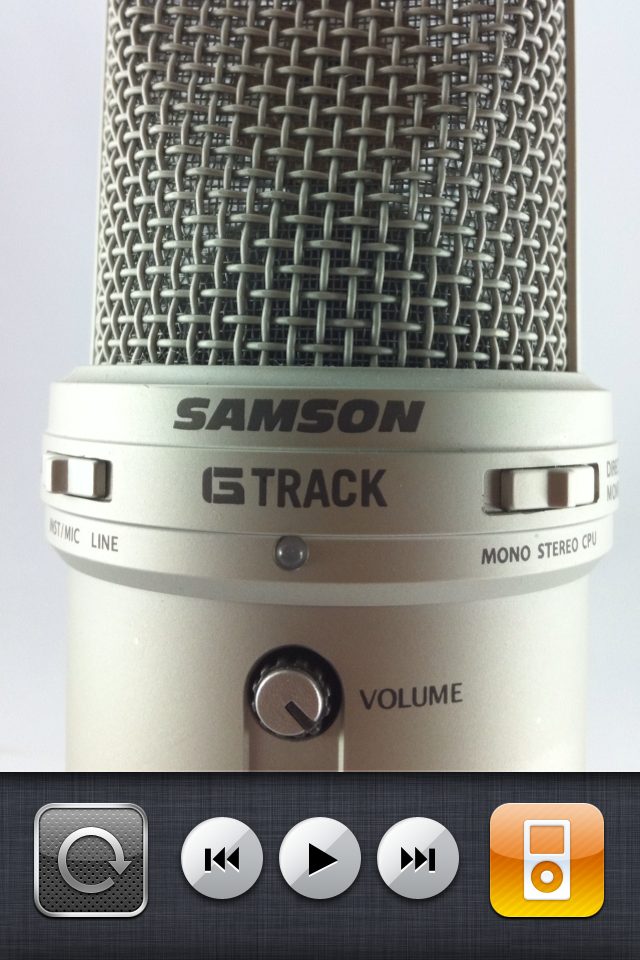
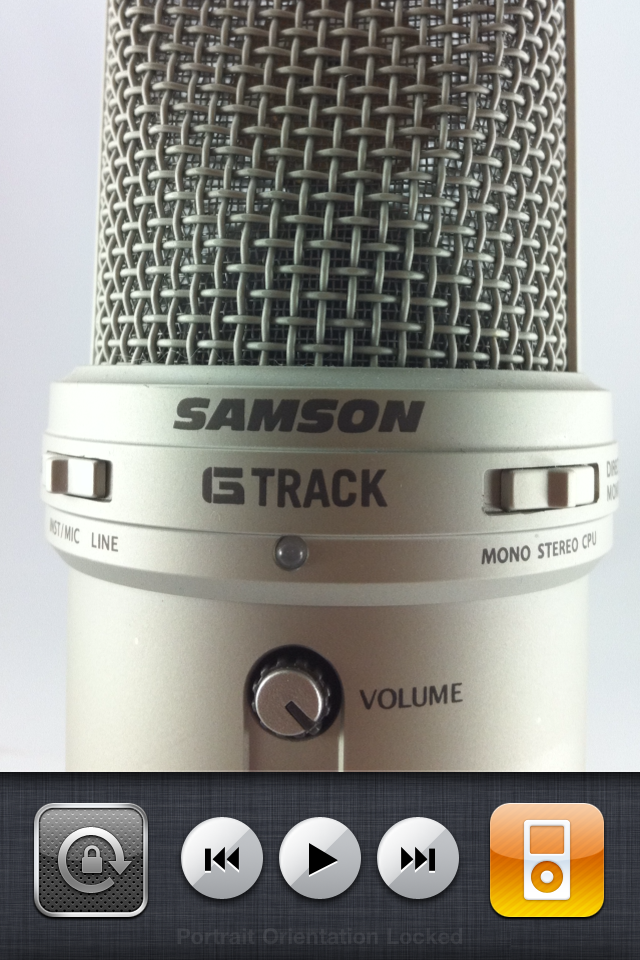
If you swipe all the way to the right you will be shown the iPod widget and Portrait Orientation Lock. Using these buttons you can control the playback of your music, quickly launch the iPod application, or prevent the screen from rotating into landscape mode.


QUITTING A BACKGROUND APPLICATION

Step One
To quite an application running or suspended in the background simply double press the
Home button to bring up the multitasking menu.


Step Two
Press an hold any icon until it wiggles. Then press the delete badge at the top left of an icon to end the application.


Step Three
When done press the
Home button to complete the action.


**Remember not all applications have been updated with support for fast switching or backgrounding but hopefully most will have this ability in the near future.

**Please note that we are aware of how basic this tutorial is. It is being provided as reference to those new to the iPhone and unfamiliar with its technology.

Thứ Năm, 24 tháng 6, 2010

[Guide] How To Downgrade iOS 4 : iPhone 3GS

Click the image to open in full size.
In the flurry of upgrades and jailbreak tools, many may have come to the realization that they are not yet ready for iOS 4 for various reasons, wether it be a new bootrom, or you simply miss your Jailbroken apps from Cydia, this guide will help you downgrade your recent update to iOS 4 back to 3.1.x. While it is highly recommended to restore to 3.1.2, some of you may not have that option, but only use 3.1.3 as a last resort. However, it is important to note that if you are downgrading, in order to upgrade to iOS 4 JB, you MUST be on 3.1.2. The only jailbreak for 3.1.3 is Spirit, which is NOT compatible for upgrading to iOS 4 Jailbroken.

Before we even get started, you must have your SHSH blobs on file with Saurik's 
server. You can tell if you have this by opening cydia and seeing a message similar to this: Click the image to open in full size.

If you are 100% sure you have this message, and recall choosing the "Make My Life Easier" option when you first launched Cydia, then it's time to proceed. If you unfortunately do not have these saved, and are already on iOS 4, then there is nothing you can do.

Ok, so you made it past the hump. You have SHSH blobs on file via Saurik's Cydia server, which means your going to be able to downgrade just fine. The next question is, which firmware would you like to downgrade to. In my case, I don't have SHSH blobs on file for 3.1.2, so I will be downgrading to 3.1.3 instead.

Grab your stock firmware from the links provided at the end of this thread. Make sure you are using the one you have SHSH blobs on file for.

Now that we've got this far, its time to begin:
Note: This guide ONLY applies to the 3GS
Step 1: Modify the Hosts file

In order to trick 
iTunes into connecting to Saurik's server instead of Apple, we need to modify the hosts files. This applies to both Windows and Mac users. By doing this, we are able to get iTunes to think that our device is eligible for a downgrade. Normally when a new firmware is released, the older firmwares are no longer signed by Apple, thus preventing downgrading, but by connecting to Saurik's server, we bypass this issue. 

1a: Modifying Windows Hosts file
Click the image to open in full size.


Browse to Windows\System32\drivers\etc\. Inside this directory you should be able to find a file named "Hosts". Open this in Notepad and add the following line to the bottom.

Quote:
74.208.10.249 gs.apple.com

Due to some restrictions on Windows you may have to create a copy of this file on your desktop and then drag and drop it to replace.
Click the image to open in full size.
1b: Modifying Mac Hosts File

The same idea as windows here, only in a different location. On your Mac, Open Finder, and choose Go from the toolbar, and then Go To Folder. Type in the following: etc/ .
Click the image to open in full size.

This folder should pop up, and inside you'll see the hosts file. Open this file with textedit and add the following line to the bottom.

Quote:
74.208.10.249 gs.apple.com

Save the file.
Click the image to open in full size.

2: Install Firmware Manually
Click the image to open in full size.

Now you can launch iTunes, shift click, or ctrl click, Restore, choose your firmware, and the downgrade begins. Some of you may not have any problems from here, but some of you will end up in recovery mode by the end of it. Do not worry, this is normal. Now we just need to force the phone out of recovery mode.
Click the image to open in full size.

3: Fix Recovery Boot Loop

In our case, I used iReb to easily fix the recovery boot method. This is of course on Windows, but you can also use many of the methods out there to fix the recovery loop. If you need further help with this, post a reply.
4: Welcome Back to 3.1.x. 

Your back. Now you can patiently wait for further development on iOS 4 in the meantime and have all your fun apps back. Hope this helps everyone. I Will add photos shortly.


Resources & Links:
We have had guides for downgrading the 3GS to 3.1.2 for awhile now check em out if you need more instruction


3.1.2 Firmware (Official Apple Links)Download iPhone OS 3.1.2 for iPhone 2G 


3.1.3 Firmware (Official Apple Links) - Only use these if you do not have 3.1.2 on file.


Utilities
iReb for Windows (Mac Soon)
iRecovery (Mac & windows)

MobileTerminal Officially Updated For iOS 4

Posted Image

Yesterday we gave you a first look at MobileTerminal 4.26 optimized for iOS 4. It was an unofficial release, and unstable. Today, MobileTerminal 4.26 was officially released in Cydia but it is still unstable. The update doesn’t come with an official changelog.


In the new MobileTerminal, the developer uses page curl, which used to be a private API, to allow us to open multiple pages simultaneously and we can also copy-paste commands between pages. By tapping on the blue arrow, you will get a list of most common commands , but you can predefine your own frequently used commands.


[via fsm]

WinterBoard Gets Updated. Now Fully Compatible With iOS 4

Click the  image to open in full size.

New day, new update in Cydia: WinterBoard. Saurik updates WinterBoard to v0.9.3211-1 and fixes all the problems caused by the previous update. Now WinterBoard is fully compatible with iOS 4.

Find WinterBoard in Cydia via BigBoss repo…


[via fsm]

How To Jailbreak iOS 4 On iPhone 3G/3GS Using Sn0wbreeze[Windows]

Sn0wbreeze 1.6 has been released. This is by the same developer who is behind other popular iPhone jailbreak tools such as sn0wbreeze for iPhone3.1.3, f0recast and BlackBreeze. Just like the PwnageTool for Mac, Sn0wbreeze 1.6 can jailbreak iPhone 3GS (old bootrom, and already pwned on 3.1.2 with anything other than Spirit), iPhone 3G and iPod touch 2G (non MC model).

Sn0wbreeze 1.6 for 4.0

So if you have a Windows machine, you can use Sn0wbreeze 1.6 to create custom firmware files without the upgraded baseband. Again, just like the PwnageTool 4.0/4.0.1 , only the following devices are supported.

  • iPhone 3G/3GS (old bootrom/already jailbroken with anything other than Spirit)
  • iPod Touch 2G (non MC model)

Instructions are as follows.

Step 1:

Download and install the latest version of iTunes.

Step 2:

Now start iTunes and sync your iPhone with your PC so that it backs-up all your important data including settings, apps, music, contacts and photos.

Step 3:

Download Sn0wbreeze and the original iOS 4 firmware file for your version of iPhone or iPod touch . Move all these files to your desktop


4.0.0 (3G): iPhone1,2_4.0_8A293_Restore.ipsw

-

4.0.0 (3GS): iPhone2,1_4.0_8A293_Restore.ipsw

Step 4:

Start Sn0wbreeze and select “Simple Mode”.

sn0wbreeze 3.1.3

Step 5:

Sn0wbreeze will now ask you to browse for your .ipsw file. Select the correct iOS 4 firmware .ipsw file by clicking the “Browse” button. Sn0wbreeze will verify the selected file and then will present you with following screen.

Sn0wbreeze 1.6 for 4.0 (1)

Step 6:

Click on "Yes" when Sn0wbreeze asks you “Do you want to activate your iPhone?” for hacktivation. Click on “No” only if you are on an officially supported carrier like AT&T.

sn0wbreeze 3.1.3

Step 7:

Sn0wbreeze will now create the custom .ipsw file for your iPhone which will be jailbroken.

sn0wbreeze 3.1.3sn0wbreeze 3.1.3

Step 8:

Now you will have to restore your iPhone to this custom firmware 4.0 that you just cooked using Sn0wbreeze for your iPhone. Click on your phone from the sidebar in iTunes and then press and hold left “Shift” button on the keyboard and then click on “Restore” (Not “Update” or “Check for Update”) button in the iTunes and then release the “Shift” button.

This will make iTunes prompt you to select the location for your custom firmware 4.0. Select that custom .ipsw file and click on “Open”.

Step 9:

iTunes will start restoring your iPhone.This will involve a series of automated steps. Be patient at this stage and don’t do anything silly. Just wait while iTunes installs the new iOS 4 on your iPhone. Your iPhone screen at this point will be showing a progress bar indicating installation progress. After the installation is done, iPhone will restart automatically and you should now have a fully jailbroken iPhone running on iOS 4.

Step 10:

Once you are done with the unlocking and jailbreak process. You can now restore all your settings, apps, music, contacts and photos to the newly installed iOS 4 by restoring the backup that you made in Step 2 from iTunes.


*THANKS to iH8sn0w for his hard work in making this jailbreak and tutorial possible!

Bài đăng phổ biến