These are instructions on how to jailbreak your iPhone 3GS on the 4.2.1 firmware using RedSn0w for Windows. The Mac version of this tutorial is here
If you have an iPhone 3GS with the new bootrom you will only be able to perform a tethered jailbreak at this time. This means you will need Redsn0w's assistance to boot into your jailbroken device.
IMPORTANT FOR UNLOCKERS
During this process you can update your baseband to the 06.15 version. If you are on 05.14 or 05.15 or higher you will need to do this to unlock. You do not need to do this for jailbreak only. Please read the following very carefully before deciding whether to do this.
1. There is no way to come back down from 06.15, and there’s no hiding the baseband version from Apple. You’ll be voiding your warranty in a very obvious way.
2. If some future baseband comes out with a critical fix, you won’t be able to update to it if it remains down in the 05.xx sequence (then again, you wouldn’t update to it if you wanted to keep your unlock anyway).
3. Starting with FW 4.2.1 if you have 06.15 on your iPhone you won’t ever be able to restore to stock firmware (it will fail). You’ll need to only restore to custom IPSWs (then again, if you’re unlocker you should already be doing that).
Don’t update to 06.15 if you don’t need to! Only do this if you need the unlock and you’re stuck on 05.14 or 05.15, and you’re willing to assume the above risks.
Step One
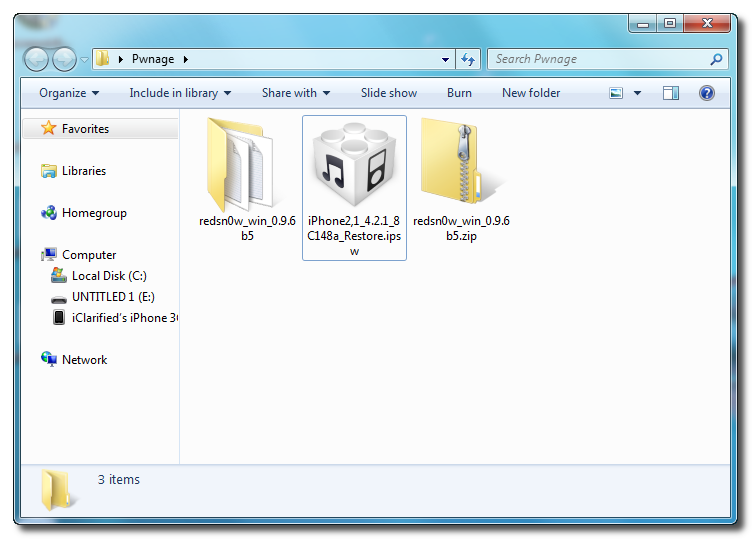
Create a folder on your desktop called Pwnage
Download RedSn0w from here and place it in the Pwnage folder. Likewise, download the latest 4.2.1 firmware from below and place it in the same folder.
4.2.1 (3GS): iPhone2,1_4.2.1_8C148a_Restore.ipsw
Extract the redsn0w executable from the RedSn0w zip file into the same folder.

Step Two
***If you are already on iOS 4.2.1 you can skip this step.
Connect your iPhone to the computer and launch iTunes.

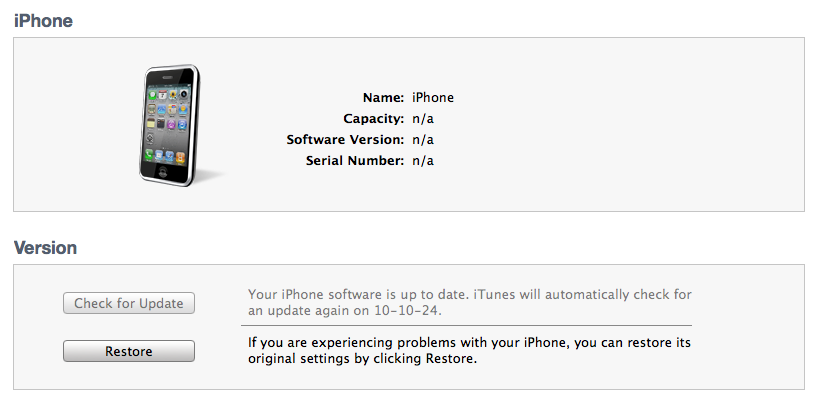
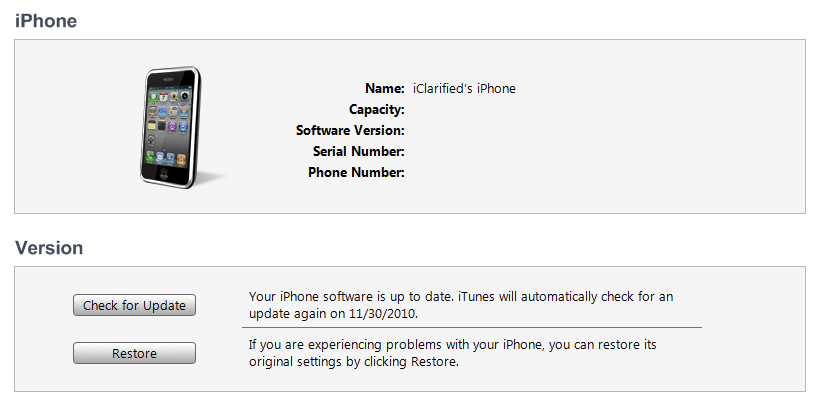
Select your iPhone from the list of devices on the left. Now hold down Shift and click the Restore button. Restore is preferred as it won't create any wasted space on your iPhone.

Navigate to the Pwnage folder on your desktop and select the 4.2.1 firmware ipsw. Click the Choose button to continue.

Step Three
Once iTunes has finished updating your iPhone to the desired firmware open the Pwnage folder on your desktop and launch the redsn0w application from the redsn0w folder we extracted earlier.

Step Four
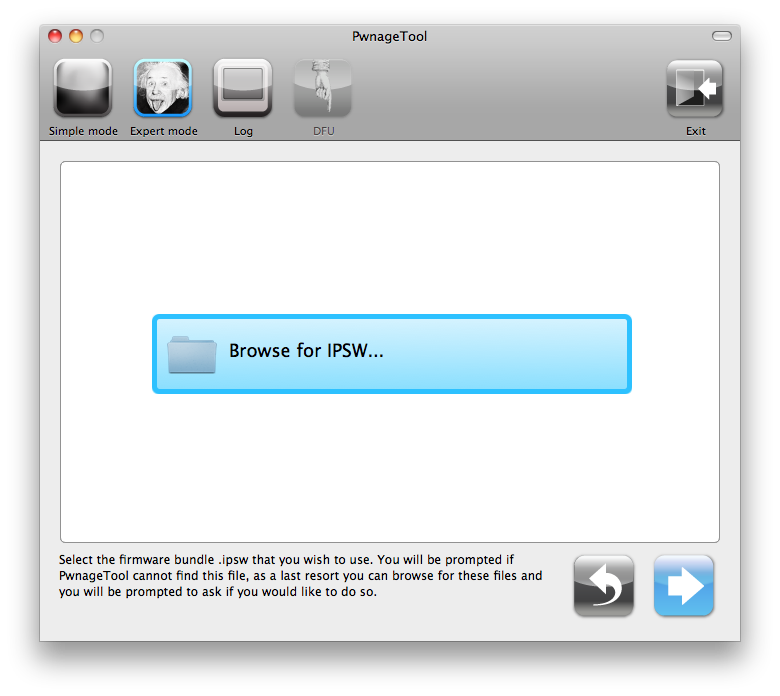
Once RedSn0w opens click the Browse button

Step Five
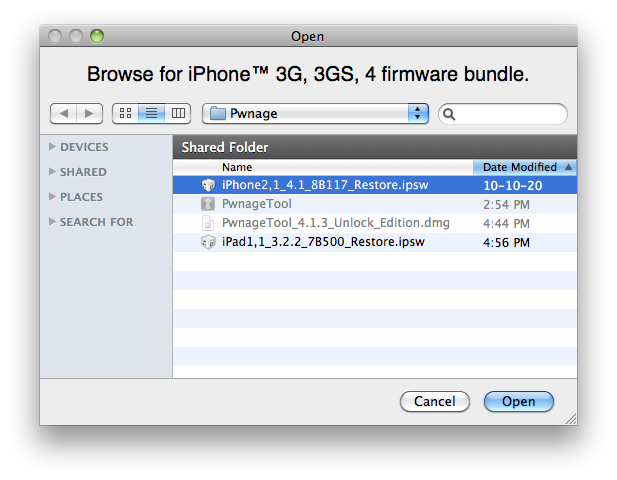
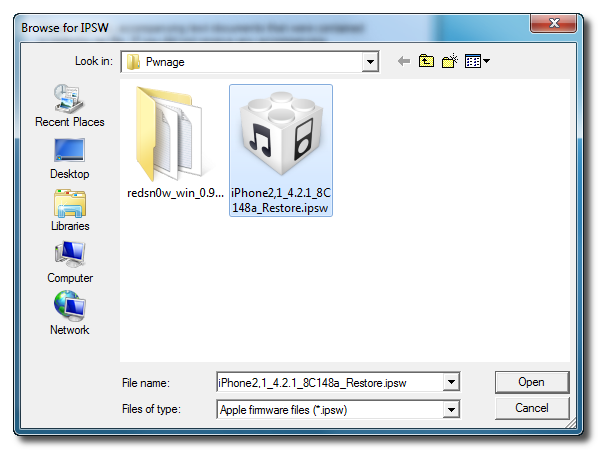
Select the 4.2.1 firmware ipsw we placed in the Pwnage folder on our desktop then click Open.

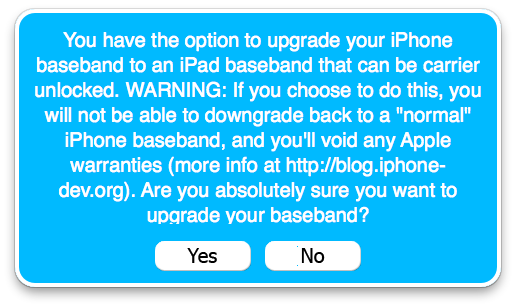
You will be asked if this device is a newer fixed model. If yours is then click the Yes button; otherwise, click the No button. At this time you can only perform an untethered jailbreak on the older model.

Step Six
Once the firmware has been verified click the Next button to continue.

Step Seven
RedSn0w will now prepare the jailbreak data

Step Eight
From this window you can select the jailbreak options you would like.

Verbose boot displays detailed information on boot of your device and is generally only needed by developers and advanced users.
Make sure Cydia is selected. For this tutorial we will also select Custom boot logo and Custom recovery logo.
When you click to select each custom logo option a dialog window will appear asking you to select the image. Locate the image you would like to use then press the Open button.

*Remember the rules for boot logos are: RGB or Grayscale format with Alpha channel and dimension below 320x480.
If you read the warning above and you would like to update your baseband to the 06.15 iPad version for unlock then check Install iPad Baseband. Click Yes when prompted to confirm your decision.

Click the Next button continue.

Step Nine
Please plug your iPhone into the computer and make sure its OFF then click the Next button

Step Ten
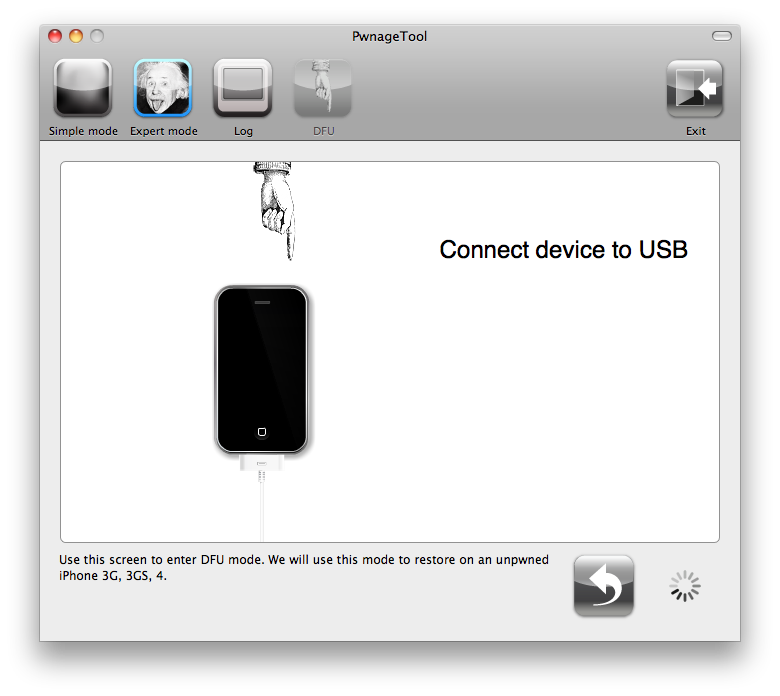
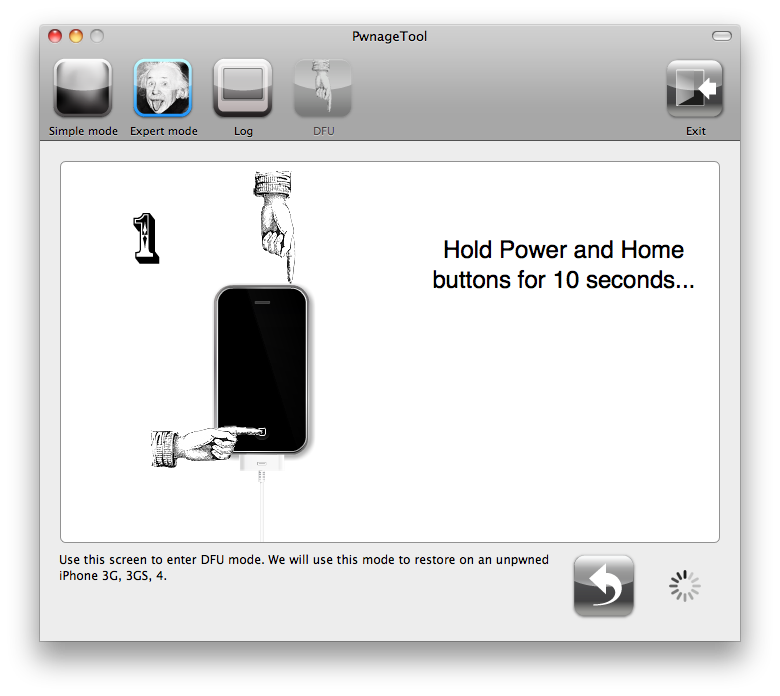
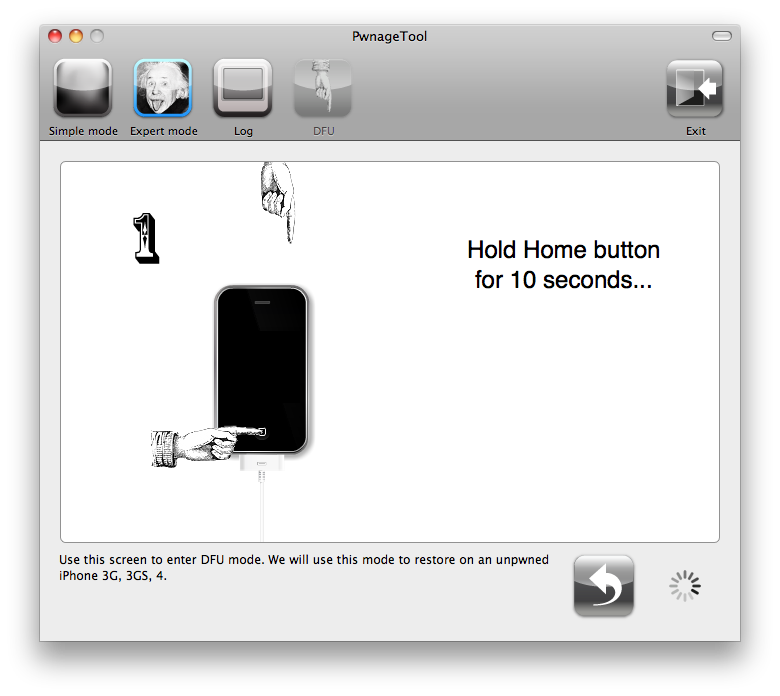
RedSn0w will now guide you through the steps to get into DFU mode.
Hold down both the Home button and the Power button for 10 seconds.

Release the Power button and continue holding the Home button until RedSn0w detects the device.

Step Eleven
RedSn0w will now download the iPad baseband if needed and your iPhone will reboot


Step Twelve
RedSn0w will then begin uploading the new RAM Disk and Kernel.

Step Thirteen
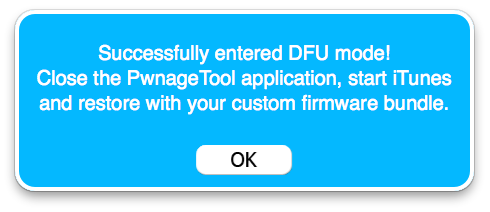
Once this is complete you will be notified that RedSn0w is done. Click the Finish button. When your iPhone finishes rebooting (5 minutes or so) it will be jailbroken with Cydia on the SpringBoard.

IMPORTANT:
If you have a newer iPhone 3GS and performed a tethered jailbreak you can use Redsn0w to help you boot back into your jailbroken device. Simply select Just boot tethered right now from the options window and click Next.

UNLOCK:
Follow this tutorial to unlock your device if you updated to the 06.15.00 baseband.
If you have an iPhone 3GS with the new bootrom you will only be able to perform a tethered jailbreak at this time. This means you will need Redsn0w's assistance to boot into your jailbroken device.
IMPORTANT FOR UNLOCKERS
During this process you can update your baseband to the 06.15 version. If you are on 05.14 or 05.15 or higher you will need to do this to unlock. You do not need to do this for jailbreak only. Please read the following very carefully before deciding whether to do this.
1. There is no way to come back down from 06.15, and there’s no hiding the baseband version from Apple. You’ll be voiding your warranty in a very obvious way.
2. If some future baseband comes out with a critical fix, you won’t be able to update to it if it remains down in the 05.xx sequence (then again, you wouldn’t update to it if you wanted to keep your unlock anyway).
3. Starting with FW 4.2.1 if you have 06.15 on your iPhone you won’t ever be able to restore to stock firmware (it will fail). You’ll need to only restore to custom IPSWs (then again, if you’re unlocker you should already be doing that).
Don’t update to 06.15 if you don’t need to! Only do this if you need the unlock and you’re stuck on 05.14 or 05.15, and you’re willing to assume the above risks.
Step One
Create a folder on your desktop called Pwnage
Download RedSn0w from here and place it in the Pwnage folder. Likewise, download the latest 4.2.1 firmware from below and place it in the same folder.
4.2.1 (3GS): iPhone2,1_4.2.1_8C148a_Restore.ipsw
Extract the redsn0w executable from the RedSn0w zip file into the same folder.
Step Two
***If you are already on iOS 4.2.1 you can skip this step.
Connect your iPhone to the computer and launch iTunes.

Select your iPhone from the list of devices on the left. Now hold down Shift and click the Restore button. Restore is preferred as it won't create any wasted space on your iPhone.
Navigate to the Pwnage folder on your desktop and select the 4.2.1 firmware ipsw. Click the Choose button to continue.
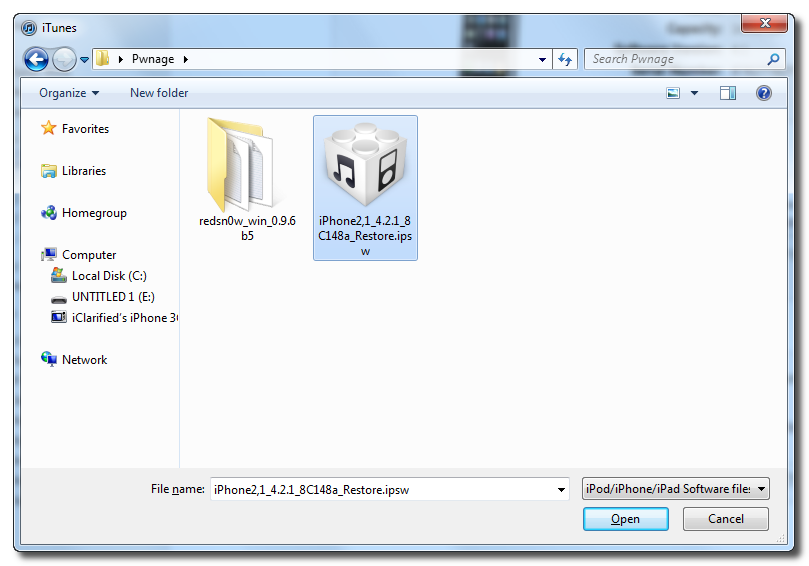
Step Three
Once iTunes has finished updating your iPhone to the desired firmware open the Pwnage folder on your desktop and launch the redsn0w application from the redsn0w folder we extracted earlier.

Step Four
Once RedSn0w opens click the Browse button

Step Five
Select the 4.2.1 firmware ipsw we placed in the Pwnage folder on our desktop then click Open.
You will be asked if this device is a newer fixed model. If yours is then click the Yes button; otherwise, click the No button. At this time you can only perform an untethered jailbreak on the older model.

Step Six
Once the firmware has been verified click the Next button to continue.

Step Seven
RedSn0w will now prepare the jailbreak data

Step Eight
From this window you can select the jailbreak options you would like.

Verbose boot displays detailed information on boot of your device and is generally only needed by developers and advanced users.
Make sure Cydia is selected. For this tutorial we will also select Custom boot logo and Custom recovery logo.
When you click to select each custom logo option a dialog window will appear asking you to select the image. Locate the image you would like to use then press the Open button.
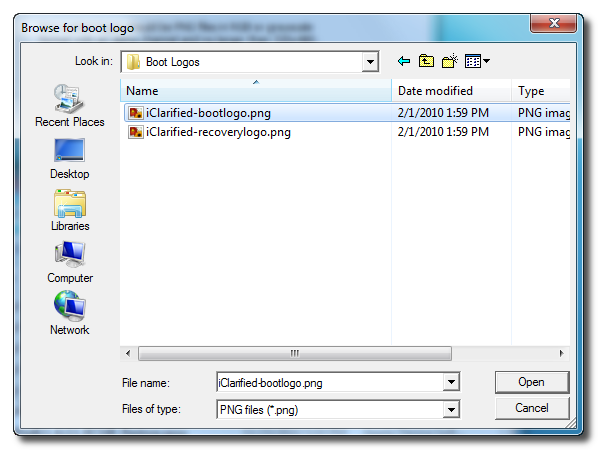
*Remember the rules for boot logos are: RGB or Grayscale format with Alpha channel and dimension below 320x480.
If you read the warning above and you would like to update your baseband to the 06.15 iPad version for unlock then check Install iPad Baseband. Click Yes when prompted to confirm your decision.

Click the Next button continue.

Step Nine
Please plug your iPhone into the computer and make sure its OFF then click the Next button

Step Ten
RedSn0w will now guide you through the steps to get into DFU mode.
Hold down both the Home button and the Power button for 10 seconds.

Release the Power button and continue holding the Home button until RedSn0w detects the device.

Step Eleven
RedSn0w will now download the iPad baseband if needed and your iPhone will reboot


Step Twelve
RedSn0w will then begin uploading the new RAM Disk and Kernel.

Step Thirteen
Once this is complete you will be notified that RedSn0w is done. Click the Finish button. When your iPhone finishes rebooting (5 minutes or so) it will be jailbroken with Cydia on the SpringBoard.

IMPORTANT:
If you have a newer iPhone 3GS and performed a tethered jailbreak you can use Redsn0w to help you boot back into your jailbroken device. Simply select Just boot tethered right now from the options window and click Next.

UNLOCK:
Follow this tutorial to unlock your device if you updated to the 06.15.00 baseband.
*As usual a big thanks to the iPhone Dev-Team for their hard work and contribution to the iPhone community.